To set up your Arlo camera, launch the Arlo Secure app and insert batteries into the camera. Tap “Continue,” connect your camera to Wi-Fi, and place it according to your preference.
If you’re using an Arlo base station, press the Sync button for about two seconds and release it to sync your cameras. You can also check the LED status on the base station or SmartHub for connectivity. Additionally, make sure your camera is not losing connection with the internet to avoid any offline status.
For further details, you can refer to the Arlo camera setup manual or watch tutorial videos on YouTube.
Credit: bergenhightech.no
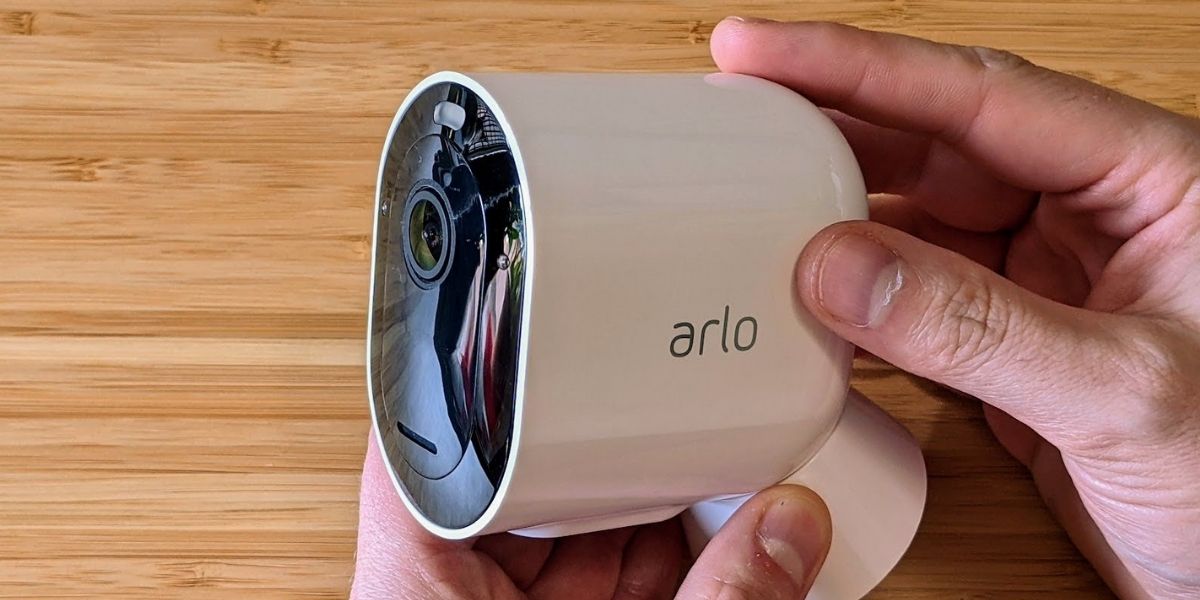
Setting Up Arlo Wire-free Camera
To set up an Arlo Wire-Free Camera, launch the Arlo Secure app, insert the batteries into the camera, and tap Continue. If using an Arlo base station, press the Sync button for about two seconds and then release it. Connect your Arlo camera to Wi-Fi and place it in your desired location.
You can find detailed instructions and tutorials on how to set up Arlo cameras on the Arlo website and YouTube channel.
To set up an Arlo Wire-Free Camera, start by launching the Arlo Secure app on your mobile device. Next, insert the batteries into the camera and ensure they are properly placed. Once the batteries are inserted, tap on “Continue” within the Arlo Secure app. Follow the LED instructions on the camera to complete the setup process.
It is important to ensure that the camera is synced to an Arlo base station or SmartHub for proper functionality. If you are using an Arlo base station, press the Sync button on the side or back of the base station for about two seconds and then release the button. This will help sync the camera to the base station.
Remember that a stable Wi-Fi connection is necessary for the Arlo camera to function properly. Ensure that your camera is connected to Wi-Fi and has a strong signal for optimal performance.
Syncing Arlo Wire-free Cameras
To sync Arlo wire-free cameras for setup, press the sync button on the base station for two seconds. Ensure a stable internet connection to avoid offline status. Follow the step-by-step guides from Arlo’s Secure app or check out YouTube tutorials for detailed instructions.
Arlo Camera Setup can be easily done with these simple steps.
| Syncing Arlo Wire-Free Cameras | ||
| Press the Sync button on the Arlo base station | Wait for the LED indicator to blink | Sync multiple cameras, if needed |
To sync your Arlo Wire-Free Cameras, start by pressing the Sync button on the Arlo base station. This button is usually located on the side or back of the base station. Hold the button for about two seconds and then release it. Next, wait for the LED indicator on the base station to blink. This indicates that the base station is ready to sync with the cameras. If you have multiple cameras to sync, repeat the same process for each camera. Make sure that all the cameras are within range of the base station and have fresh batteries. Once the sync is successful, your cameras will be ready to use.
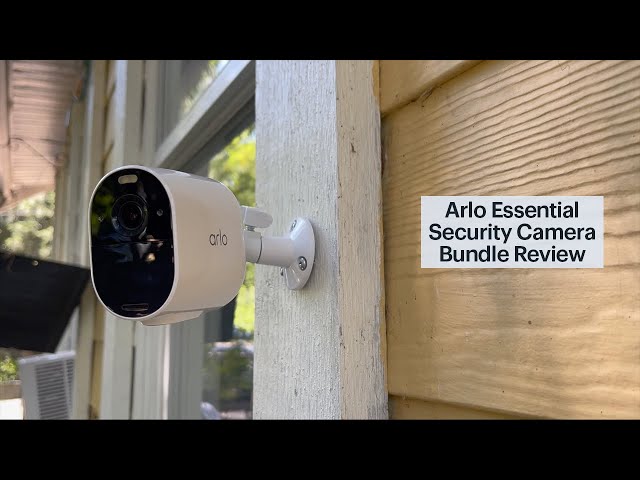
Installing Arlo Essential Spotlight Camera
Arlo Camera Setup – Installing Arlo Essential Spotlight Camera
Follow the Arlo Essential Spotlight Camera installation video on YouTube for step-by-step guidance on setting up your camera.
- Download and launch the Arlo app
- Turn on your Arlo camera
- Follow the in-app instructions to connect your camera to Wi-Fi
- Choose a location where the camera has a clear view of the area you want to monitor
- Use the provided mounting hardware or accessories to securely install the camera
- Ensure the camera is positioned at the desired angle
- Adjust the camera’s settings through the Arlo app for optimal performance
Connecting Arlo Cameras To Wi-fi
Set up your Arlo cameras with ease by following these simple steps to connect them to your Wi-Fi network. From inserting batteries to syncing with the base station, our Arlo Camera Setup guide will help you get your cameras up and running in no time.
Explore our video tutorials for a hassle-free installation process.
To connect your Arlo cameras to Wi-Fi, follow these steps:
- Download the Arlo app.
- Turn on your Arlo camera.
- Connect your Arlo camera to Wi-Fi.
Once you have downloaded the Arlo app and turned on your camera, you will need to connect it to Wi-Fi. This step is crucial as it allows your camera to communicate with the Arlo system and your mobile device.
To connect your Arlo camera to Wi-Fi, follow the instructions provided in the Arlo app. Make sure to have your Wi-Fi network name and password handy for a seamless setup process.
Once connected, your Arlo camera will be ready to monitor and protect your property. Enjoy the peace of mind that comes with Arlo’s reliable and secure camera system.
Troubleshooting Connectivity Issues
Setting up your Arlo camera and troubleshooting connectivity issues is made easy with these step-by-step instructions. From inserting batteries to syncing with your base station or SmartHub, you’ll have your Arlo camera up and running in no time. Learn how to connect your camera to Wi-Fi and ensure a seamless connection for uninterrupted security monitoring.
To troubleshoot connectivity issues with your Arlo camera, it is important to check if the camera is connected to the internet. If your camera is synced with a base station or SmartHub, ensure that it is not losing connection with the internet.
This can impact the camera’s online status and result in offline issues. One way to check the status is by looking at the front LED of the base station or SmartHub. If it is showing any issues, you may need to troubleshoot further.
It is also essential to make sure that the camera is properly synced with the base station or SmartHub. If there are any sync issues, you may experience connectivity problems. By following these steps, you can ensure a smooth and hassle-free Arlo camera setup experience.
Minimum Requirements For Arlo Camera Installation
- To set up an Arlo camera with an Arlo SmartHub or Base Station:
- Launch the Arlo Secure app.
- Insert the batteries into the camera.
- Tap Continue.
- Press the Sync button on the side or back of the base station for about two seconds.
- Connect your Arlo camera to Wi-Fi.
- Place your Arlo camera.
- If you are using an Arlo base station, press the Sync button to sync your wire-free cameras.
- To install Arlo wire-free smart home security cameras, watch the tutorial videos on YouTube.
- Arlo cameras must be connected to Wi-Fi to function properly.
- If your camera is synced to an Arlo base station or SmartHub, ensure it stays connected to the internet to avoid offline status.
Using Arlo Cameras Without Wi-fi
Arlo cameras offer a variety of setup options, including the ability to use them without Wi-Fi. While most Arlo cameras require a Wi-Fi connection for full functionality, there are certain scenarios where you may want to use your Arlo cameras without Wi-Fi.
One such option is the Arlo Go Mobile HD Security Camera, which doesn’t rely on Wi-Fi and utilizes a cellular network for connectivity. This can be especially useful in remote locations or areas with unreliable Wi-Fi coverage.
The Arlo Go offers high-definition video monitoring and advanced features, such as night vision and motion detection, without the need for a Wi-Fi connection.
It provides a convenient solution for those seeking a wireless security camera system without being dependent on Wi-Fi.
Checking Arlo Camera Connectivity
To ensure a seamless Arlo camera setup, it is crucial to check the camera’s connectivity. This involves syncing it with the Arlo base station or SmartHub and ensuring a stable internet connection for uninterrupted monitoring. Follow the easy steps provided by Arlo to get your camera up and running in no time.
How To Know If An Arlo Camera Is Connected To The Internet?
When setting up an Arlo camera, it is essential to ensure that it is connected to the internet for proper functionality. To check if your Arlo camera is connected to the internet, follow these steps:
Step 1: Verify the syncing status: If your camera is synced to an Arlo base station or SmartHub, make sure it is not displaying an offline status. Check the base station or SmartHub’s front LED to see its connection status.
Step 2: Check the internet connection: Ensure that the Arlo base station or SmartHub has a stable internet connection. If the connection is lost, it may affect the connectivity of the camera.
Step 3: Monitor camera activity: Observe the camera’s behavior through the Arlo app or web interface. If the camera is not showing any live video feed or alerts, it might indicate a connectivity issue.
By following these steps, you can determine if your Arlo camera is successfully connected to the internet or experiencing any connection problems. Maintaining a stable internet connection is crucial for seamless surveillance monitoring.
| |
|
|
Additional Resources For Arlo Camera Setup
Discover additional resources for Arlo camera setup, including helpful tutorials on how to set up Arlo cameras, sync wire-free cameras, connect to Wi-Fi, and install essential spotlight and indoor cameras.
Ensure your Arlo camera is properly connected to the internet and explore tips for troubleshooting any connection issues.
Find everything you need to know about setting up and maximizing the performance of your Arlo camera system.
| Resource | Description |
|---|---|
| Arlo camera setup manual | A comprehensive guide on how to set up Arlo cameras. |
| Arlo camera setup app | Information on the Arlo app and how to use it to set up your cameras. |
| Arlo Pro setup instructions | Step-by-step instructions for setting up Arlo Pro cameras. |
| YouTube tutorials on Arlo camera setup | A collection of helpful video tutorials on setting up Arlo cameras. |
Frequently Asked Questions On Arlo Camera Setup
How Do I Connect My Arlo Camera?
To connect your Arlo camera, follow these steps:
1. Launch the Arlo Secure app.
2. Insert batteries into the camera.
3. Tap Continue.
4. Press the Sync button on the base station for two seconds and release.
5. Connect your camera to Wi-Fi and place it where desired.
What Do I Need For My Arlo Camera To Work?
To set up your Arlo camera, you will need the following:
1. Arlo camera: Ensure the camera is properly charged or has fresh batteries.
2. Arlo SmartHub or Base Station: Connect your camera to this device for wireless connectivity.
3. Arlo Secure app: Download the app on your phone to manage and control your camera.
4. Wi-Fi connection: Connect your camera to a stable Wi-Fi network for remote access and monitoring.
5. Follow the step-by-step instructions provided by Arlo to complete the setup process.
Do Arlo Cameras Have To Be Connected To Wifi?
Yes, Arlo cameras need to be connected to WiFi for them to function properly.
How Do I Know If My Arlo Camera Is Connected To The Internet?
To check if your Arlo camera is connected to the internet, make sure it is not displaying an offline status. Check the front LED of your Arlo base station or SmartHub for its connectivity status.
Conclusion
To set up your Arlo camera successfully, follow these simple steps: Launch the Arlo Secure app, insert the batteries, tap continue, and sync your camera with the base station. Connect your Arlo camera to Wi-Fi and place it in your desired location.
Remember, your Arlo camera must have a stable internet connection to work effectively. With these easy-to-follow instructions, you’ll be enjoying the benefits of your Arlo camera setup in no time. Stay secure and protected with Arlo.