30 Christmas Chalkboard Art Ideas: Transform Your Home with Festive Chalk Designs

Creating beautiful Christmas chalkboard art is more than just drawing on a board; it’s a way to bring holiday magic into your home with your own hands. This creative decoration style lets you show your personal style while making your space warm and festive for the season.
Christmas chalkboard art uses simple drawings, festive words, and holiday colors to create decorations that make everyone smile. These designs are easy to change, affordable, and perfect for adding a personal touch to your celebrations.
This article shows you 30 wonderful Christmas chalkboard art ideas that work for everyone—from beginners who have never drawn before to skilled artists. Each design is simple to understand and comes with easy tips you can follow right away.
Join us as we explore these creative ideas that will help you make your home feel magical this Christmas season.
1. Classic “Merry Christmas” Welcome Board
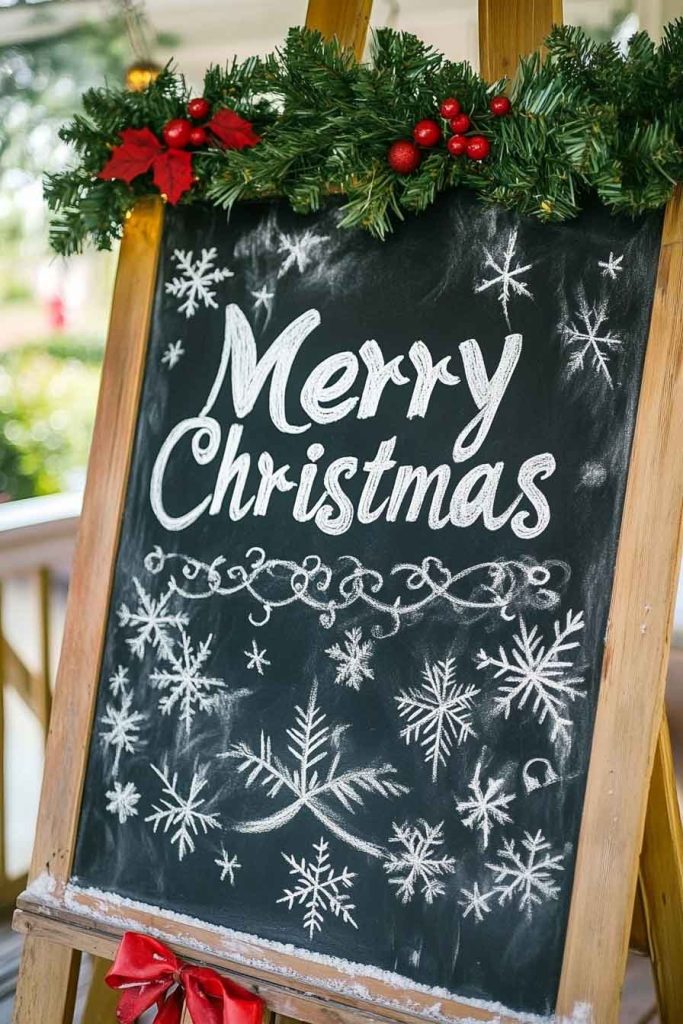
Picture a large chalkboard in your entryway with “Merry Christmas” written in beautiful letters at the top. Around the words, you can draw simple snowflakes, small holly leaves, and tiny stars that catch the eye.
The board sits on an easel next to your front door, welcoming guests with festive cheer. Simple pine garland frames the edges, adding natural beauty to your chalk design.
This design creates a warm first impression. The simple drawings are easy for anyone to copy, and the friendly message makes everyone feel welcome when they visit your home.
Tips:
- Use large, clear letters that are easy to read from far away.
- Draw snowflakes by making a plus sign, then adding diagonal lines through the center.
- Add white chalk for bright accents that stand out.
- Keep the border simple so the words stay the main focus.
2. Advent Calendar Countdown
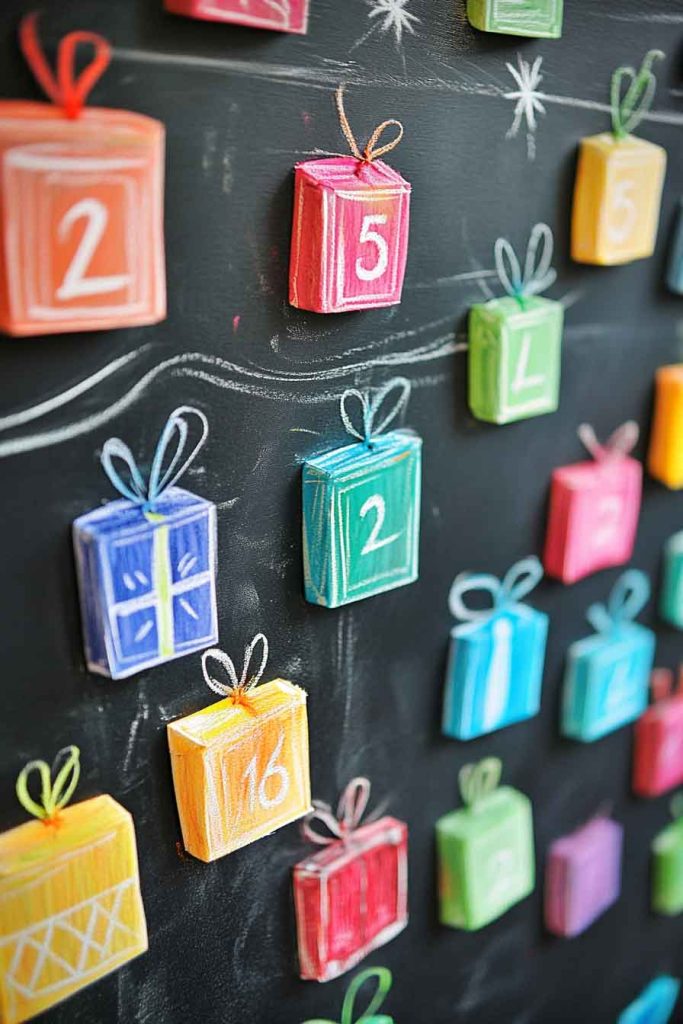
Create a fun advent calendar on a chalkboard with 25 numbered boxes arranged in rows. Each box can hold a simple drawing—a candy cane, a bell, or a tiny gift box that you color in as each day passes.
The chalkboard hangs in your living room where the whole family can see it. You can decorate the edges with drawn ribbon or simple winter trees to frame your calendar.
This design builds excitement as Christmas gets closer. Children love crossing off each day, and it becomes a family tradition that brings everyone together during the holiday season.
Tips:
- Make the boxes large enough to write numbers clearly inside.
- Use different colors of chalk to make each box special.
- Let children help color in the boxes as each day passes.
- Add small drawings inside each box to make it more interesting.
3. Santa’s Workshop Sign
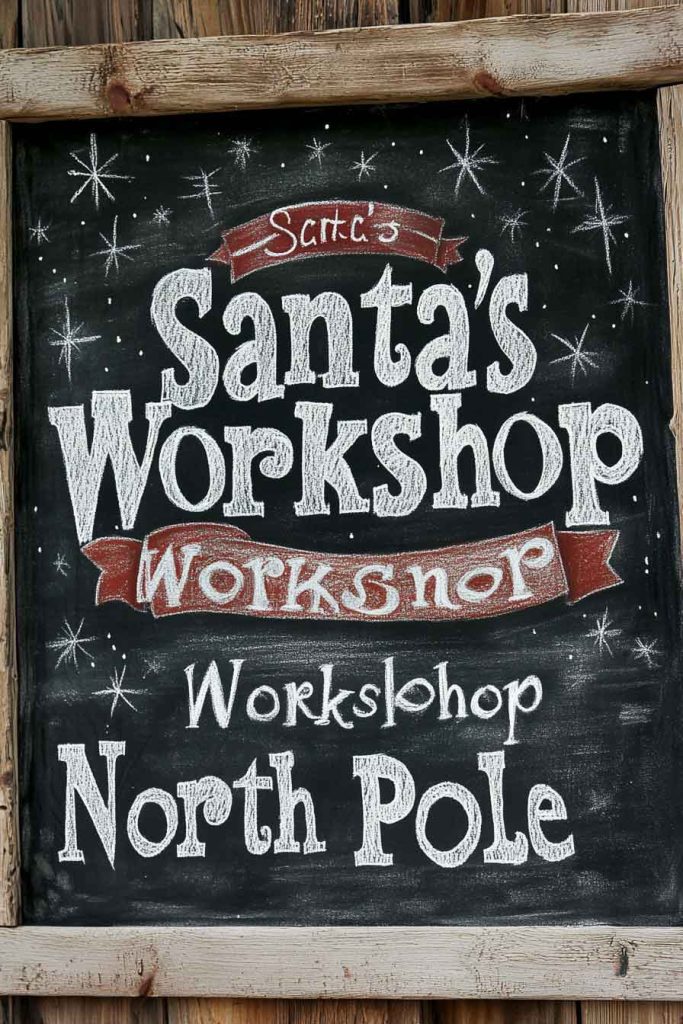
Design a chalkboard that looks like an old wooden sign from Santa’s workshop. Write “Santa’s Workshop” in playful letters, with “North Pole” written smaller underneath.
Add simple drawings of toys, a hammer, and small gift boxes around the edges. The rustic style makes it look like a real workshop sign, creating a magical feeling.
This design works perfectly in a playroom or family room. It sparks imagination and makes children excited about Santa’s special place where all the toys are made.
Tips:
- Use rough, uneven letters to create a rustic wooden sign look.
- Draw simple toy shapes like blocks, balls, and teddy bears.
- Add wood grain lines to make the board look like real wood.
- Keep colors natural—brown, red, and white work best.
4. Christmas Tree Chalkboard
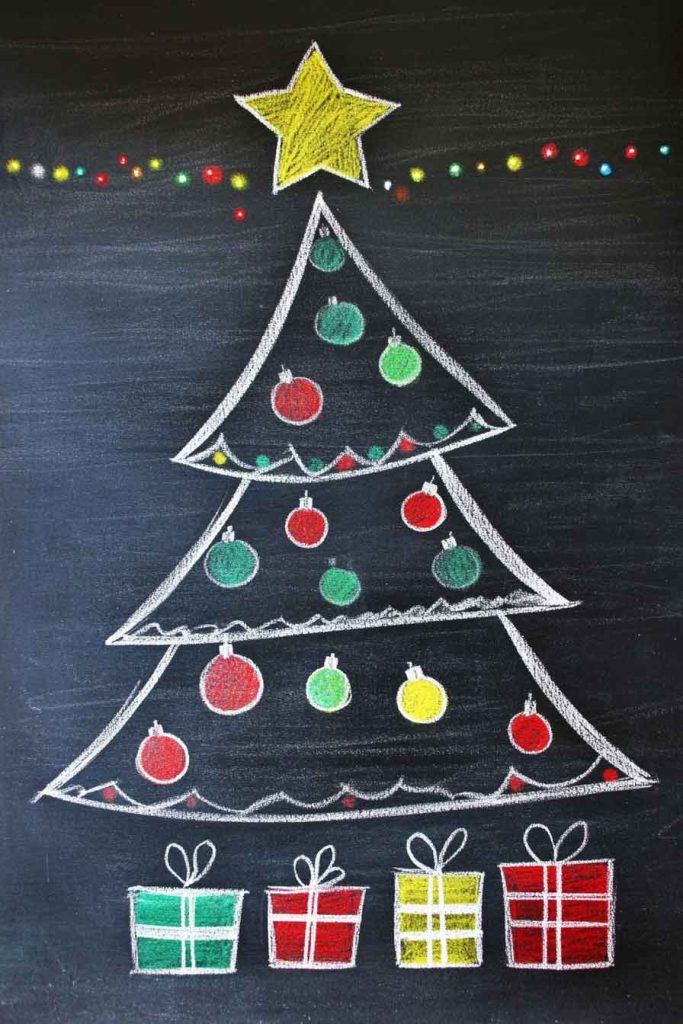
Draw a large Christmas tree that fills most of your chalkboard space. Start with a simple triangle shape, then add zigzag lines for branches. Draw circles for ornaments and a star on top.
You can add color with colored chalk—green for the tree, red and gold for decorations, and white for snow effects. Small presents drawn at the bottom complete the scene.
This design is perfect for people who don’t have space for a real tree, or as extra decoration to add more Christmas spirit throughout your home.
Tips:
- Start with a light pencil sketch before using chalk.
- Draw branches as simple zigzag lines from top to bottom.
- Make ornaments different sizes for a natural look.
- Add small dots of white chalk for a snowy effect.
5. “Let It Snow” Winter Scene
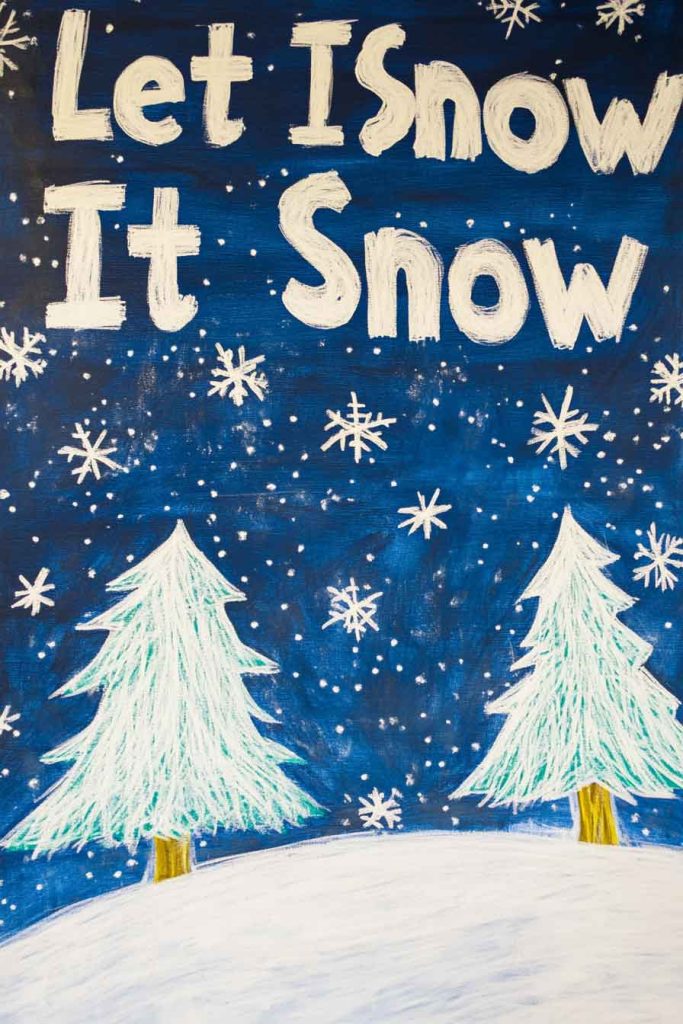
Create a peaceful winter scene with “Let It Snow” written across the top in flowing letters. Below the words, draw simple pine trees of different heights with snow on top.
Add falling snowflakes throughout the board by drawing small stars and circles. The bottom of the board shows gentle hills covered in snow, creating a calm winter landscape.
This design brings the beauty of winter indoors. The simple shapes are easy to draw, and the peaceful feeling makes any room feel cozy and quiet.
Tips:
- Draw trees as simple triangles with a trunk underneath.
- Make snowflakes by drawing six lines coming from one center point.
- Use your finger to smudge white chalk for soft snow effects.
- Keep the scene simple—less is more for this peaceful design.
6. Hot Cocoa Menu Board
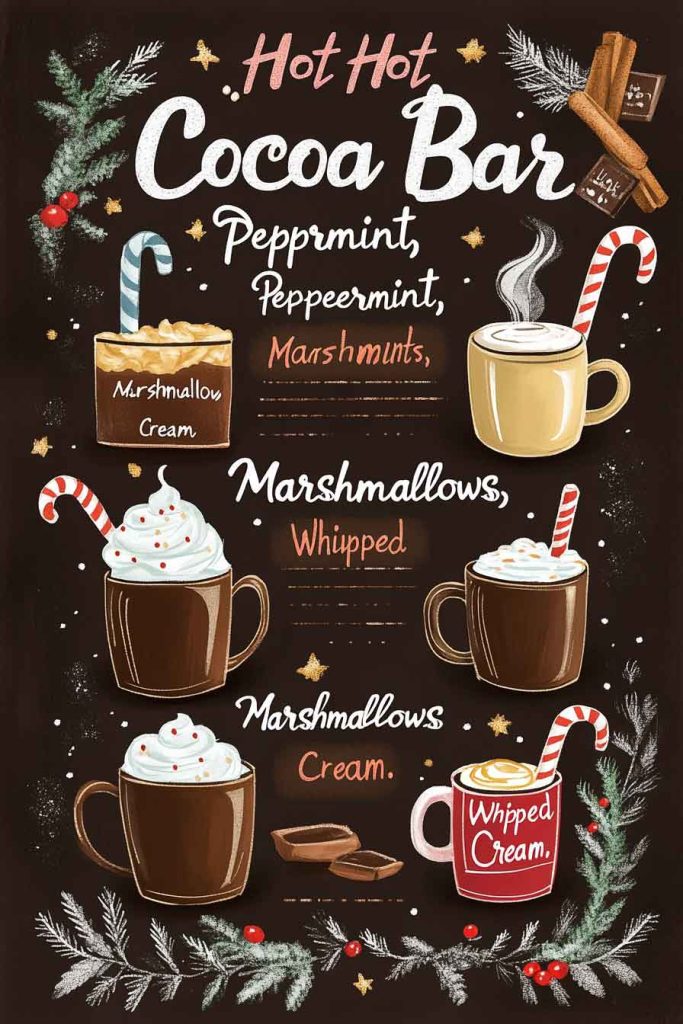
Design a fun menu board listing different hot cocoa flavors and toppings. Write “Hot Cocoa Bar” at the top in cheerful letters, then list options like “Peppermint,” “Marshmallows,” and “Whipped Cream.”
Add small drawings of steaming mugs, candy canes, and chocolate pieces around the words. This board works perfectly near your kitchen or wherever you serve holiday drinks.
This design is both decorative and useful. Guests can see all the delicious options, and the festive drawings make serving hot drinks feel like a special event.
Tips:
- Make the menu items easy to read with clear spacing.
- Draw a simple mug shape—just a rectangle with a curved handle.
- Add steam lines above mugs with wavy lines going up.
- Use colors like brown for chocolate and red for peppermint.
7. Nativity Scene Drawing

Create a meaningful nativity scene showing the first Christmas story. Draw simple figures of Mary, Joseph, and baby Jesus in the center, with a stable structure around them.
Add a bright star above the scene and simple animals like a donkey and sheep on the sides. The drawing style stays simple and clear, focusing on the special meaning of Christmas.
This design reminds everyone of the true reason for celebrating Christmas. It creates a peaceful, spiritual feeling in your home during the holiday season.
Tips:
- Keep figures simple—just basic shapes for bodies and heads.
- Draw the stable as a simple triangular roof with posts.
- Make the star large and bright above the scene.
- Use soft colors—white, cream, and light blue work beautifully.
8. “Joy to the World” Song Lyrics
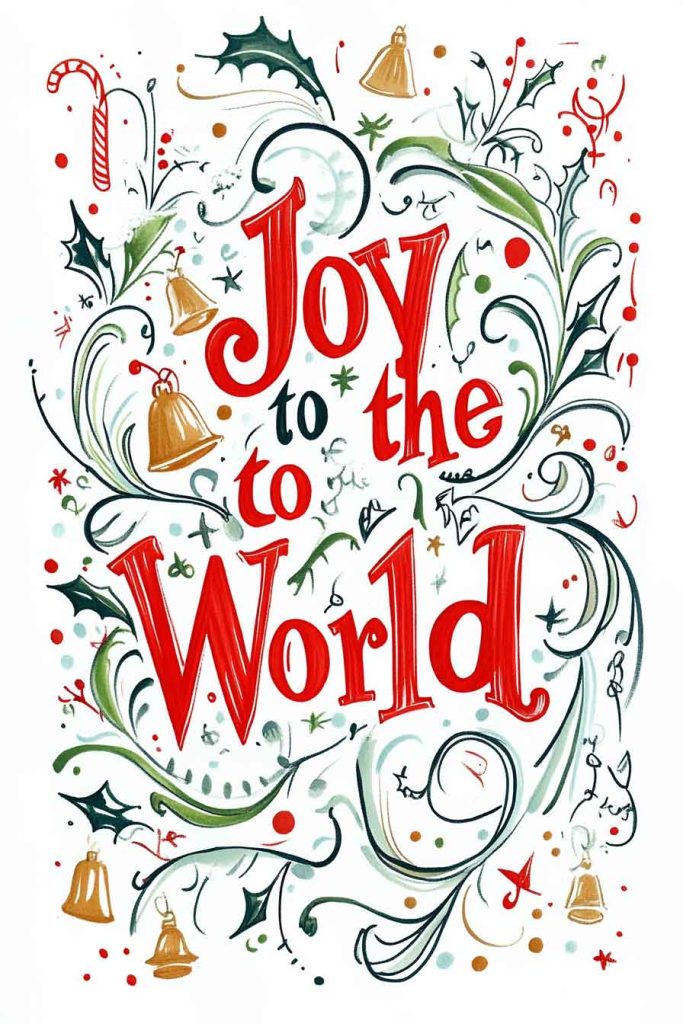
Write your favorite Christmas carol lyrics in beautiful lettering across your board. “Joy to the World” works wonderfully, with each word given special attention and decorative touches.
Surround the words with simple musical notes, small bells, and holly leaves. The design celebrates the music and joy that fill homes during Christmas time.
This design fills your home with song, even when music isn’t playing. The meaningful words remind everyone of the happiness and celebration the season brings.
Tips:
- Choose lyrics that mean something special to your family.
- Make important words larger to create visual interest.
- Add simple music notes—just circles with stems.
- Use flowing, connected letters for a song-like feeling.
9. Snowman Family Portrait
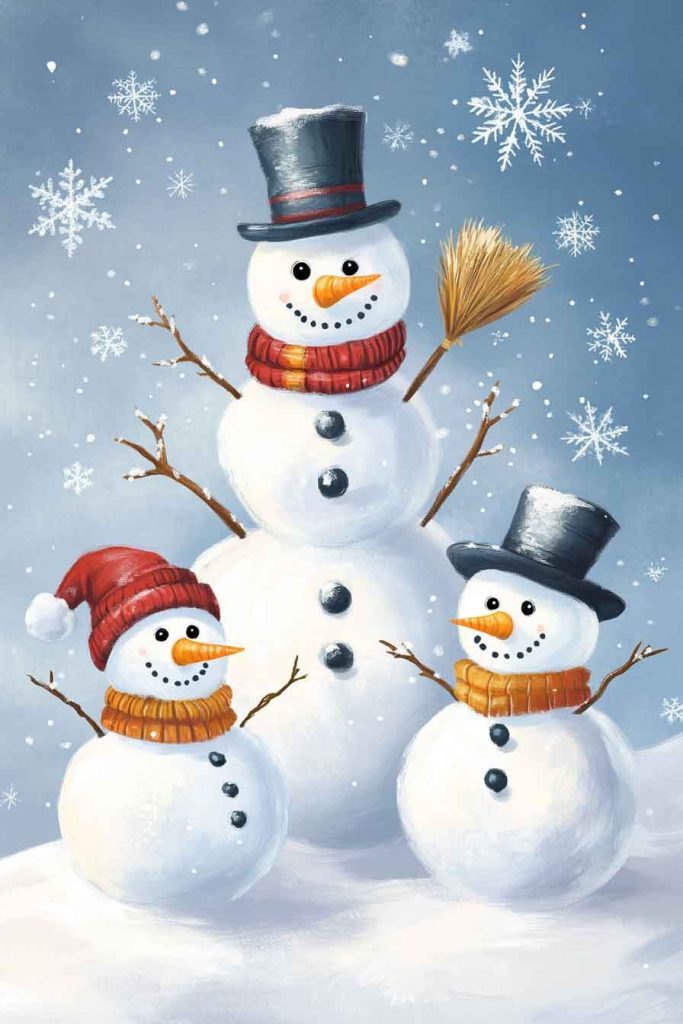
Draw a cheerful snowman family with different sized snowmen standing together. Each snowman has three circles stacked up, with coal button eyes, carrot noses, and stick arms.
Give each snowman different accessories—hats, scarves, and brooms—to create unique personalities. Small snowflakes falling around them complete this happy winter scene.
This design brings smiles to everyone who sees it. The friendly snowman family creates a playful, joyful feeling perfect for homes with children.
Tips:
- Stack three circles from largest to smallest for each snowman.
- Make accessories different colors to tell the snowmen apart.
- Draw simple facial expressions to give each one personality.
- Add movement by tilting some snowmen slightly to the sides.
10. Farmhouse “Fresh Christmas Trees” Sign
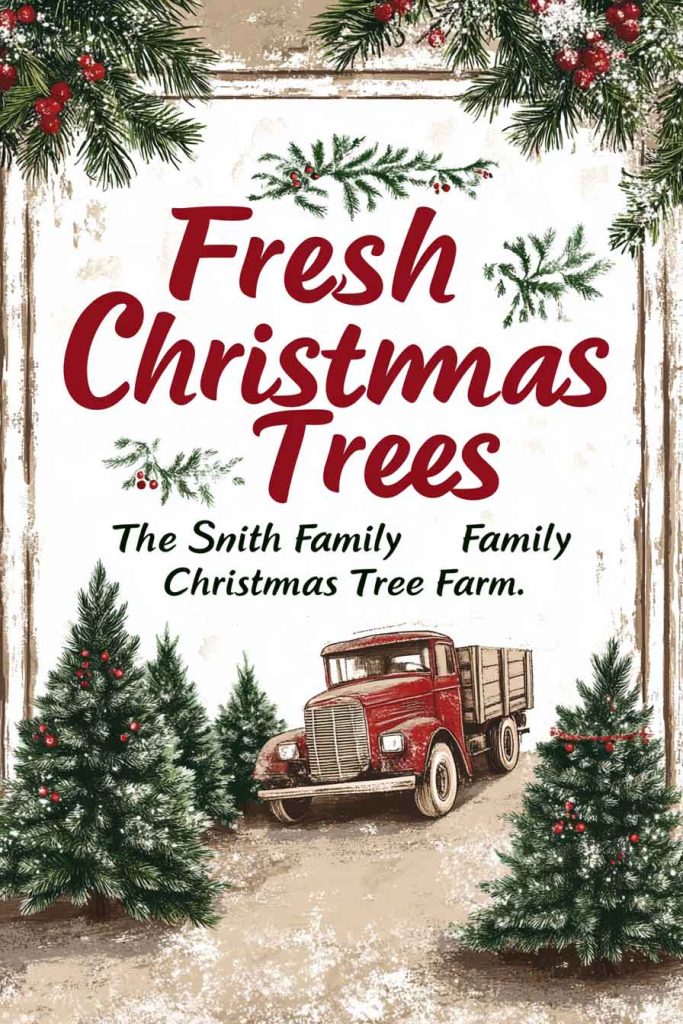
Create a rustic farmhouse-style sign advertising “Fresh Christmas Trees” as if your home is a tree farm. Add your family name like “The Smith Family Christmas Tree Farm.”
Draw simple evergreen trees along the bottom and sides, with a vintage truck carrying trees in one corner. This design has a charming country feel.
This design works perfectly for farmhouse-style homes or anyone who loves rustic decoration. It creates a warm, welcoming feeling that celebrates simple country Christmas traditions.
Tips:
- Use block letters for a rustic, hand-painted sign look.
- Draw trees as simple triangles with a trunk.
- Add wood grain texture lines to create depth.
- Keep colors natural—green, brown, red, and cream.
11. “Believe” with Santa Silhouette
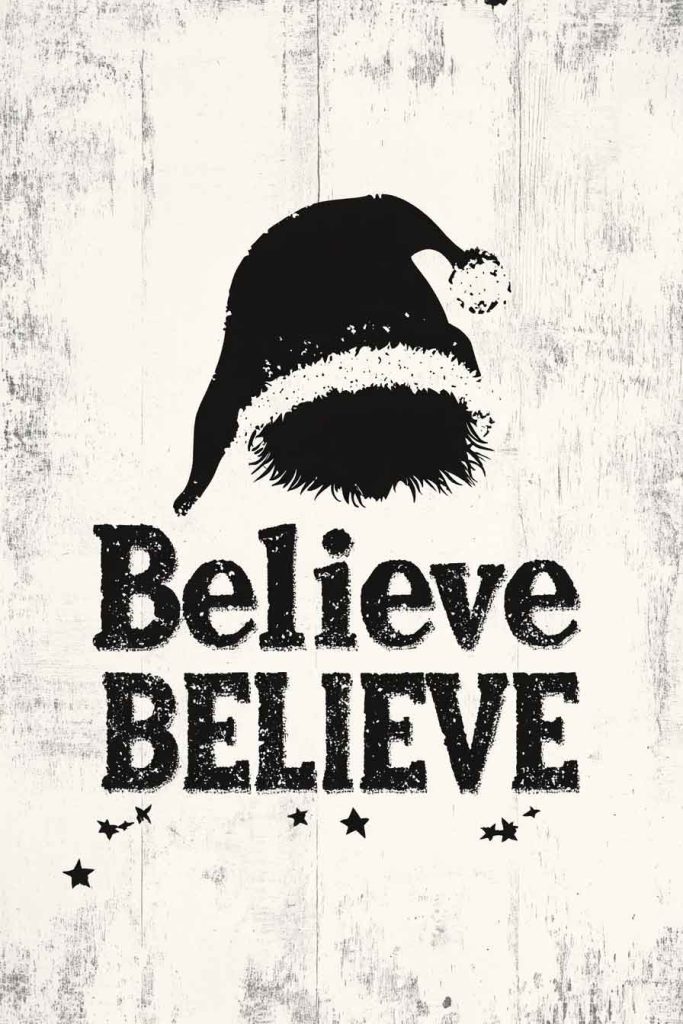
Write the word “BELIEVE” in large, bold letters across your board. Below or beside the word, draw Santa’s silhouette—just his outline showing his round shape, hat, and beard.
The simple black silhouette against the white space creates a powerful image. Add small stars or snowflakes around the design to fill empty spaces.
This design celebrates the magic and wonder of believing in Christmas. It works especially well in children’s rooms or family spaces where the holiday spirit shines brightest.
Tips:
- Make letters large and bold so they command attention.
- Keep the silhouette simple—just an outline, no details.
- Use high contrast between black and white for drama.
- Add sparkle effects with small white dots around letters.
12. Candy Cane Border Design
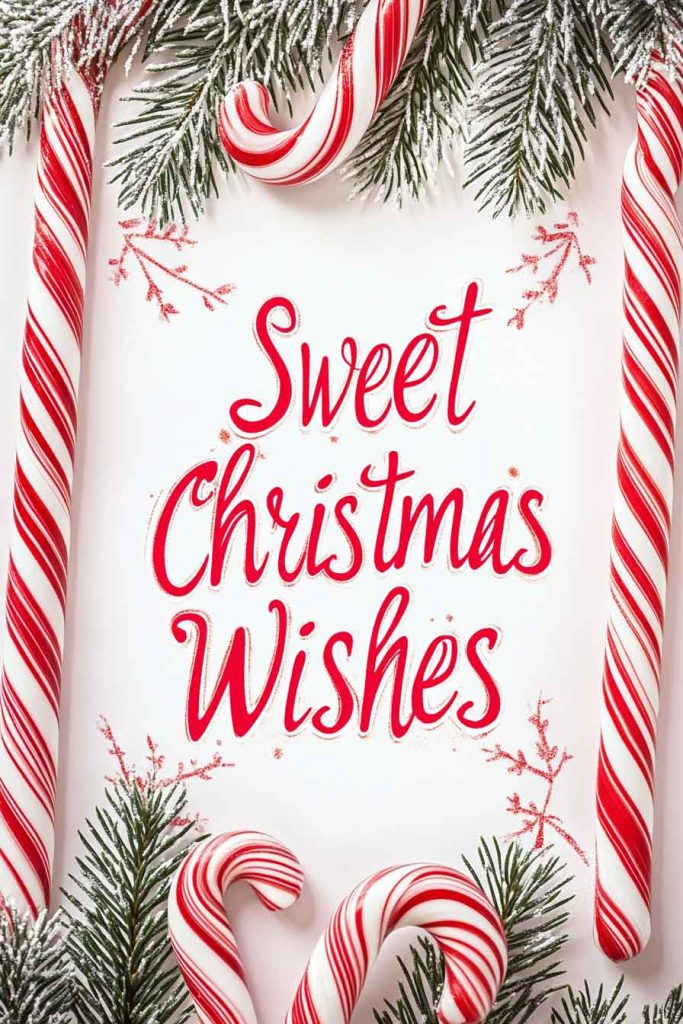
Create a decorative border of candy canes around the edge of your board, framing whatever message or design you put in the center. Draw each candy cane with red and white stripes.
The center could say “Sweet Christmas Wishes” or another festive greeting. The candy cane frame adds color and fun to any simple message.
This design is perfect for people who want decoration without too much drawing skill. The repeating pattern is easy to create, and the result looks impressive and festive.
Tips:
- Draw candy canes as simple J shapes with curved tops.
- Make stripes diagonal for a realistic candy cane look.
- Space candy canes evenly around the border.
- Use bright red and clean white for classic candy cane colors.
13. Christmas Lights String Design
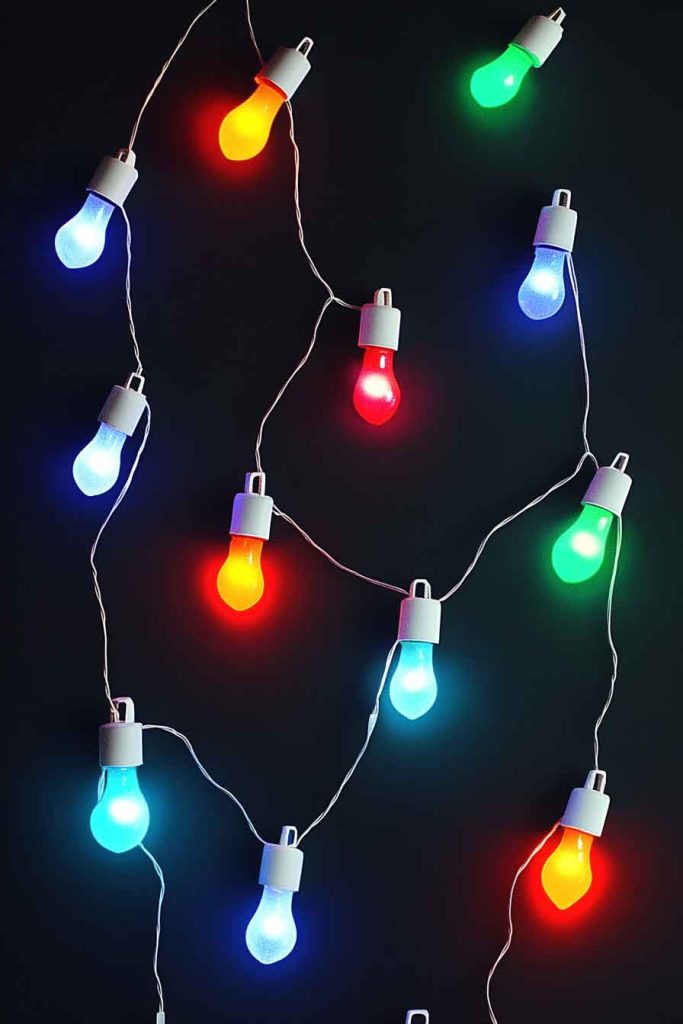
Draw a string of Christmas lights going across the top of your board, with each bulb a different color. The lights can frame your main message or design below.
Add a plug on one end and show the cord connecting all the bulbs. Draw simple rays around each bulb to show they’re glowing and bright.
This design adds cheerful color and represents the beautiful lights that make Christmas nights magical. It works perfectly for party announcements or holiday greetings.
Tips:
- Make each bulb a simple rounded shape.
- Use many different colors—red, blue, green, yellow, and orange.
- Draw the connecting wire as a gentle wavy line.
- Add small lines radiating from bulbs to show light.
14. “Home for the Holidays” Welcome
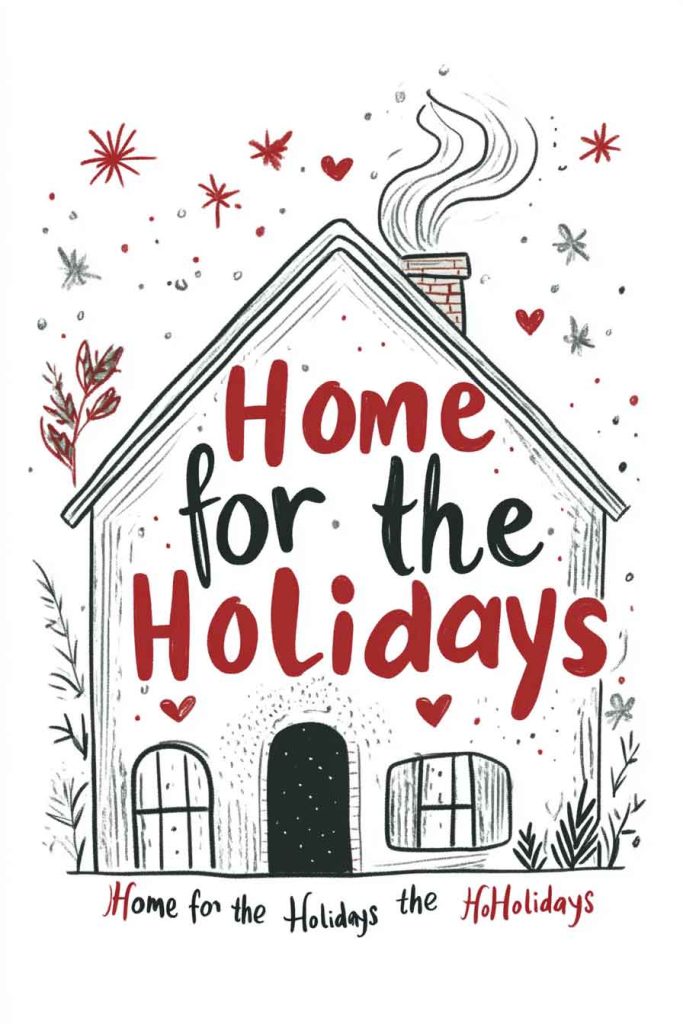
Write “Home for the Holidays” in warm, inviting letters. Surround the words with cozy images like a simple house with smoke from the chimney, or a wreath on a door.
Add small hearts or stars around the design to show the love and warmth of being home during Christmas. The overall feeling should be welcoming and comfortable.
This design celebrates the special feeling of being home with loved ones during the holidays. It makes everyone feel the warmth and comfort of family gatherings.
Tips:
- Use rounded, soft letters for a warm, welcoming feeling.
- Draw a simple house with a triangle roof and square body.
- Add smoke as curvy lines rising from the chimney.
- Include small details like windows with light shining through.
15. Reindeer Names Board
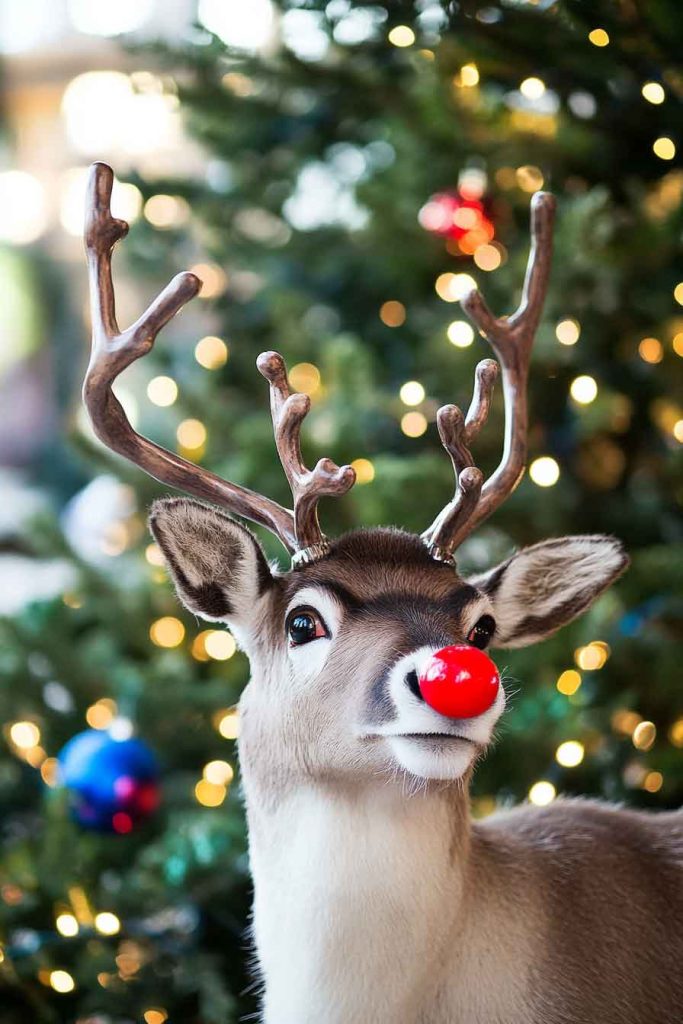
List all of Santa’s reindeer names in fun, playful letters: Dasher, Dancer, Prancer, Vixen, Comet, Cupid, Donner, Blitzen, and of course, Rudolph at the top with a red nose drawn next to his name.
Add small reindeer heads or antlers as decorations between the names. The design celebrates these special characters from Christmas stories.
This design is especially popular with children who love learning and remembering all the reindeer names. It adds fun facts to your holiday decoration.
Tips:
- Write Rudolph’s name larger or in different color.
- Draw simple antler shapes—just branching lines.
- Put a bright red circle next to Rudolph’s name.
- Keep the list neat and easy to read.
16. North Pole Directional Sign
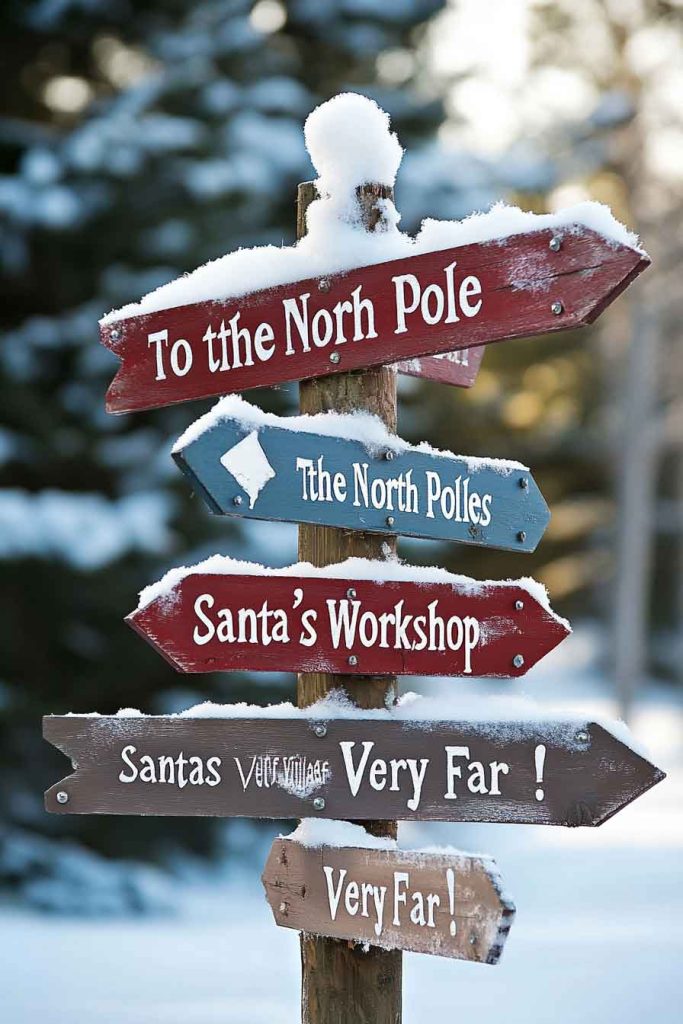
Create a fun directional sign pointing “To the North Pole” with an arrow. Add the distance (“1,000 miles”) for humor and imagination.
You can add other directions too, like “Santa’s Workshop” pointing another way, or “Elf Village” in a different direction. Simple snow caps on the sign posts add winter charm.
This design adds playful magic to any room. It helps children imagine the journey to Santa’s home and creates wonder about far-away Christmas places.
Tips:
- Make arrows clear and easy to see.
- Write distances in fun ways—”Very Far!” or specific silly numbers.
- Draw snow on top of signs with wavy white lines.
- Stack multiple directional signs like a real signpost.
17. “Tis the Season” Wreath Design
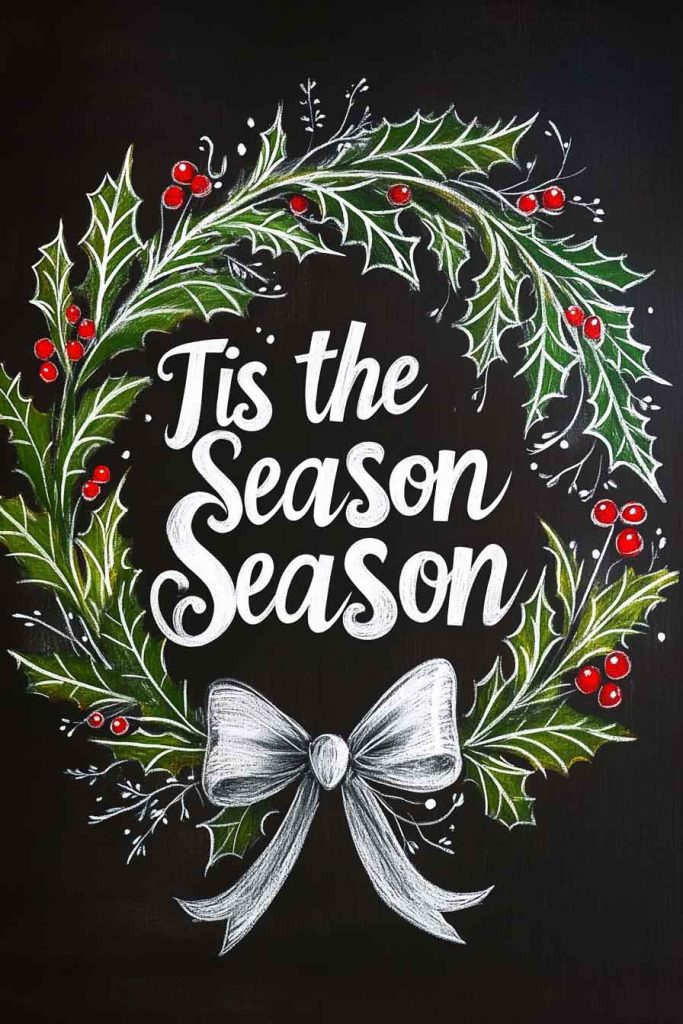
Write “‘Tis the Season” in the center of your board, surrounded by a drawn wreath made of simple holly leaves and berries.
The wreath can be a perfect circle with leaves pointing outward all around. Red berries scattered throughout add color. A simple bow at the bottom completes the traditional wreath look.
This design brings classic Christmas decoration style to your chalkboard. The wreath symbol represents the season beautifully and works in any room of your home.
Tips:
- Draw the circle first as a guide for your wreath.
- Make holly leaves with pointed edges and smooth curves.
- Add berries as simple red circles in groups of three.
- Draw bow loops as two circles with ribbon ends hanging down.
18. Gingerbread House Drawing
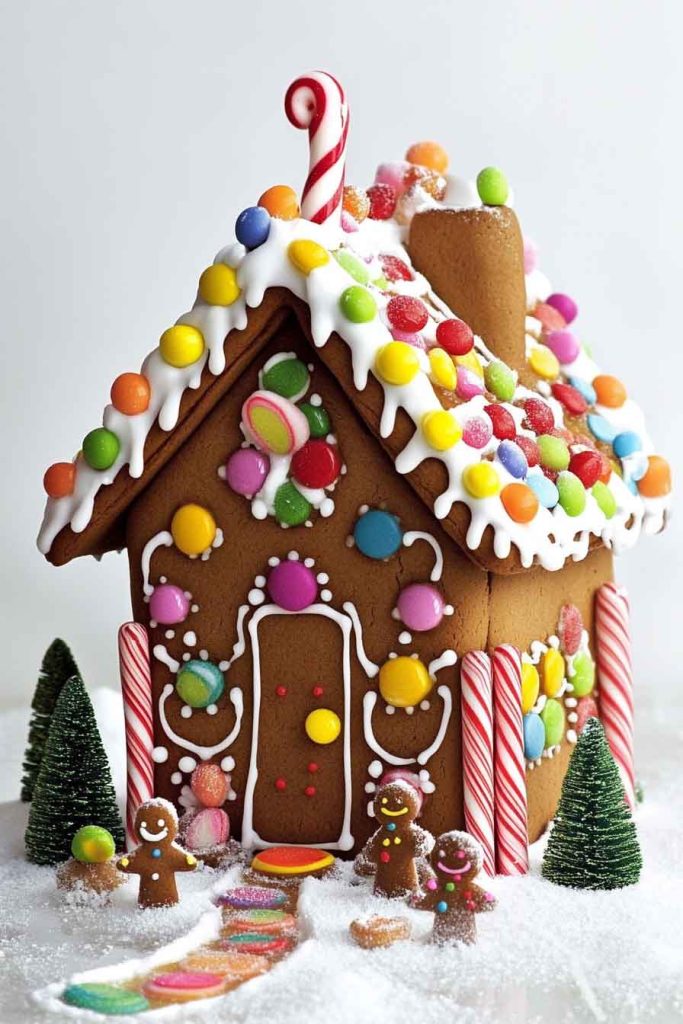
Create a charming gingerbread house with all the details—gumdrop decorations, icing trim, and candy cane columns. Draw a simple house shape first, then add all the sweet decorations.
Add a path made of candies leading to the front door. Small gingerbread people can stand nearby. The whole scene celebrates the fun tradition of decorating gingerbread houses.
This design smells sweet even though it’s just chalk! It reminds everyone of baking and decorating together, which makes homes smell wonderful at Christmas.
Tips:
- Start with a simple house outline—square with triangle roof.
- Add decorations as dots, circles, and swirls.
- Use white chalk for icing along edges and roof lines.
- Make candies colorful—use every bright color you have.
19. “Peace on Earth” Dove Design
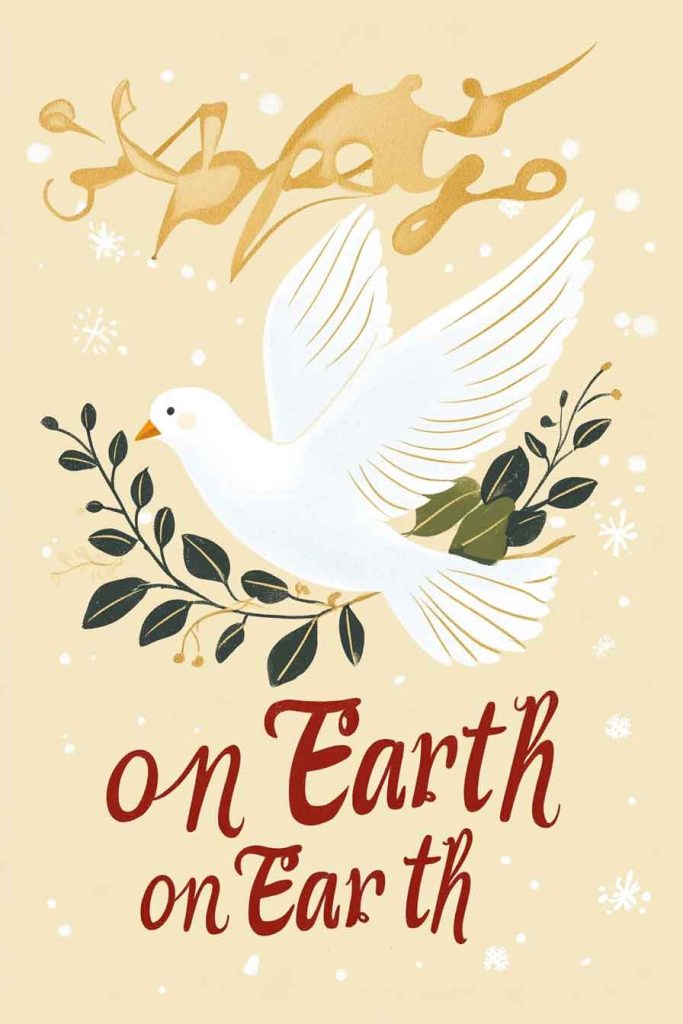
Write “Peace on Earth” with a white dove flying above or beside the words. The dove carries an olive branch in its beak, symbolizing peace.
Keep the design simple and clean, using mostly white and soft colors. The peaceful message and gentle dove create a calm, meaningful decoration.
This design shares an important Christmas message about peace and goodwill. It creates a thoughtful, spiritual feeling in your home during the holiday season.
Tips:
- Draw the dove as a simple bird outline with spread wings.
- Make the olive branch a small stem with leaves.
- Use soft, light colors for a peaceful feeling.
- Keep extra decorations minimal so the message stays clear.
20. Hot Chocolate Recipe Board

Write out a simple hot chocolate recipe on your board, making it both decorative and useful. List ingredients and simple steps in clear, easy-to-read writing.
Decorate around the recipe with drawn mugs, marshmallows, and candy canes. This turns a regular recipe into festive holiday decoration.
This design helps guests make their own hot drinks while adding fun decoration to your kitchen. It’s practical and pretty at the same time.
Tips:
- Write ingredients and steps clearly with good spacing.
- Use simple bullet points or numbers to organize information.
- Draw small ingredient pictures next to each item listed.
- Make the recipe title fancy with decorative letters.
21. “Holly Jolly Christmas” Lettering
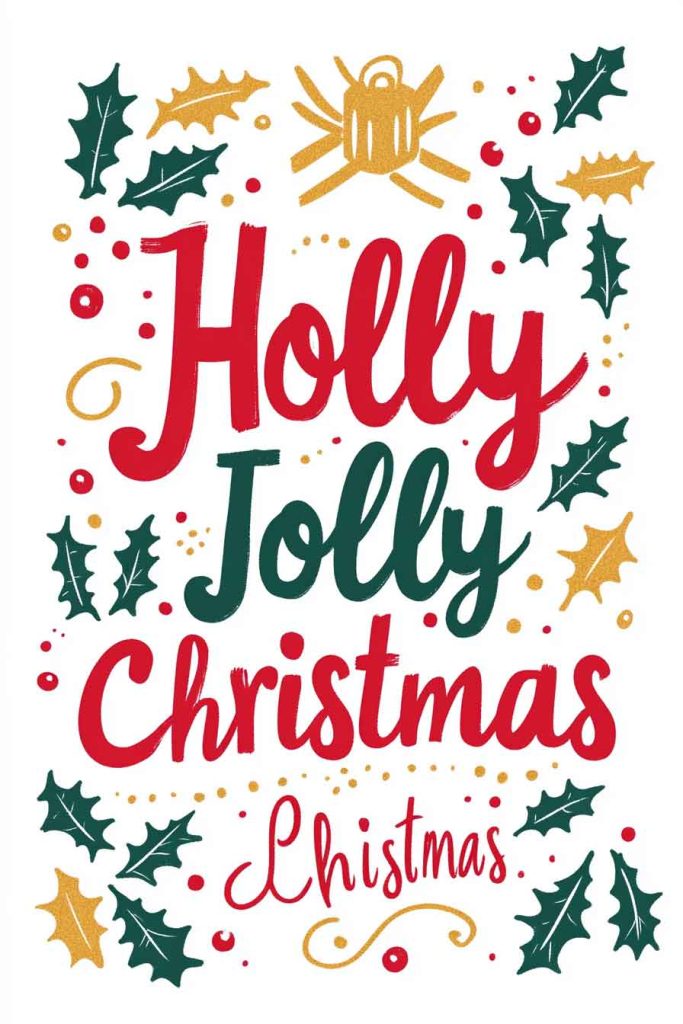
Create eye-catching lettering for “Holly Jolly Christmas” using fun, bouncy letters that look happy and energetic. Each letter can be a different size or slightly tilted.
Add small holly leaves and berries tucked around the letters. The playful style matches the cheerful words perfectly.
This design celebrates the joy and fun of Christmas with energetic, happy lettering. It brings smiles and good cheer to any room where you display it.
Tips:
- Make letters bounce up and down instead of staying level.
- Vary letter sizes to create energy and movement.
- Add holly as small decorative touches, not overwhelming the words.
- Use bright, happy colors—red and green work perfectly.
22. Fireplace and Stockings Scene
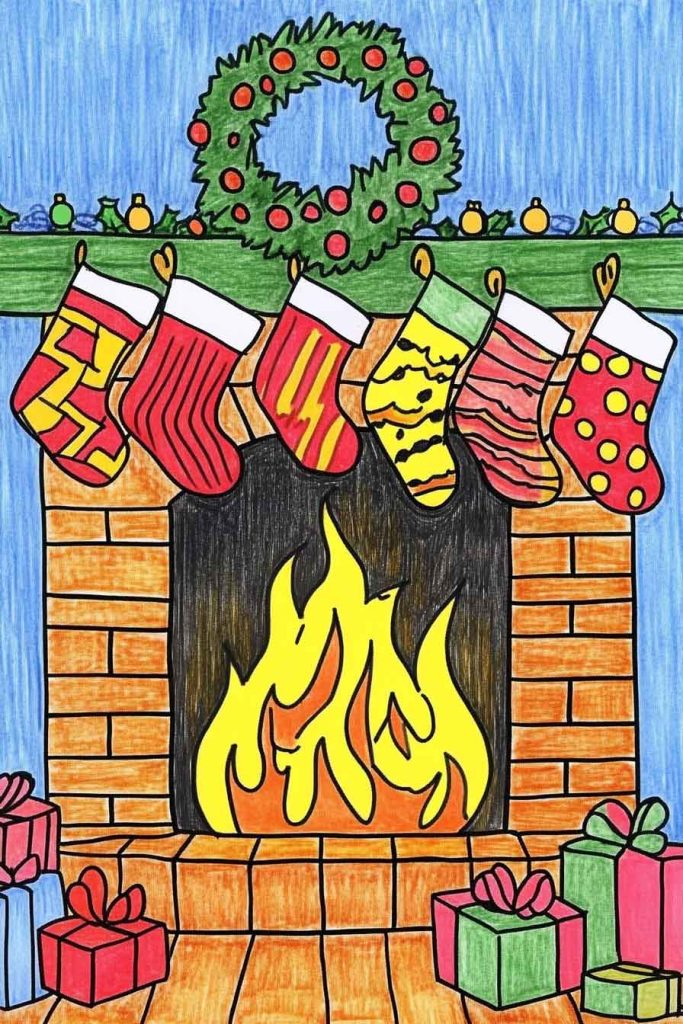
Draw a cozy fireplace with stockings hanging across the mantel. Simple flames can be orange and yellow inside the fireplace opening.
Each stocking can have a different pattern—stripes, dots, or simple designs. Add a simple wreath above the mantel and presents beside the fireplace to complete the scene.
This design creates the cozy feeling of Christmas Eve when stockings are hung and waiting to be filled. It works especially well if you don’t have a real fireplace.
Tips:
- Draw the fireplace as a simple rectangle with an arched opening.
- Make flames as pointed shapes in orange and yellow.
- Give each stocking a unique pattern to tell them apart.
- Add small details like bricks on the fireplace for realism.
23. “Dear Santa” Letter Board

Create a special space for children to write letters to Santa. Draw a fancy border around a large writing space, with “Dear Santa” at the top in special letters.
Leave room in the middle for children to write their Christmas wishes. Small decorations like stars and candy canes surround the writing space.
This design is interactive and fun for children. They can write and rewrite their wishes as the season continues, making the chalkboard decoration part of their Christmas excitement.
Tips:
- Make the border decorative but not too busy.
- Leave plenty of blank space for writing in the center.
- Write “Dear Santa” in fancy, special letters.
- Add a small mailbox drawing in the corner as decoration.
24. Christmas Cookie Recipe Display
Share your favorite Christmas cookie recipe on a decorative chalkboard. Write the recipe clearly with ingredients and steps separated nicely.
Draw small cookie shapes around the edges—stars, trees, gingerbread people, and bells. This makes your kitchen decoration useful and festive.
This design inspires baking and shares family recipes with guests. It creates wonderful conversations about favorite Christmas treats and traditions.
Tips:
- Organize the recipe clearly with sections for ingredients and steps.
- Draw simple cookie shapes—use basic geometry.
- Make important temperatures and times easy to spot.
- Add decorative flour dust effects with white chalk smudges.
25. “Joy” in Large Letters
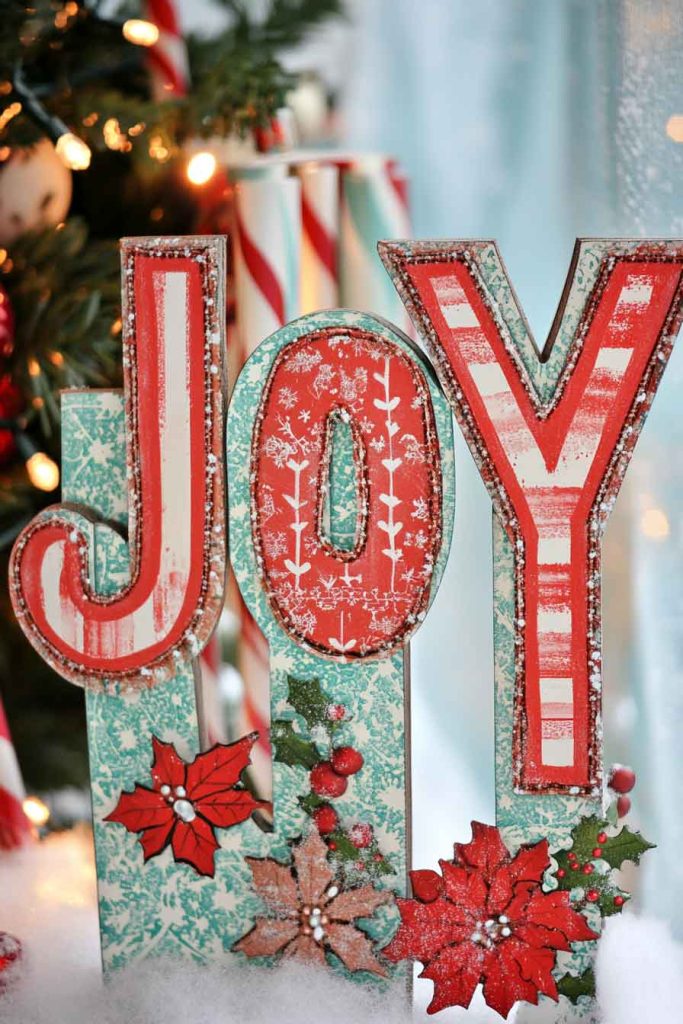
Write the word “JOY” in very large letters that fill most of your board. Make each letter decorative with patterns inside—snowflakes in the J, holly in the O, and stripes in the Y.
The large, bold letters make a strong statement about the happiness of the season. Small decorative elements can fill corners, but the word JOY stays the main focus.
This design celebrates the pure joy that Christmas brings. The simple, powerful message needs no explanation and fills your space with positive feelings.
Tips:
- Make letters as large as possible to create impact.
- Fill letters with different patterns to add interest.
- Keep the background simple so letters stand out.
- Use the whole board—don’t be afraid of really big letters.
26. Snowflake Pattern Background
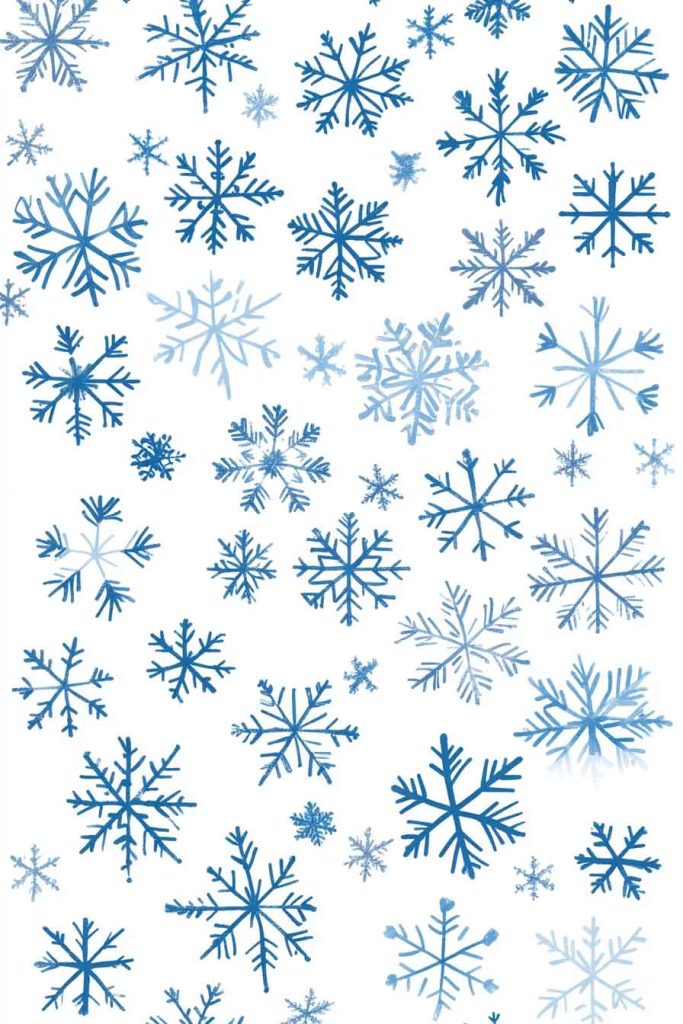
Create a beautiful background of different snowflakes across your entire board. Each snowflake should be unique with different patterns and sizes.
You can write a simple greeting in the center, or leave the snowflakes as the main decoration. The delicate patterns create a winter wonderland feeling.
This design is peaceful and beautiful. The repeating snowflake pattern is meditative to draw and creates stunning decoration that works anywhere in your home.
Tips:
- Draw each snowflake with six points coming from the center.
- Make each one different—vary the patterns on each arm.
- Use different sizes for a natural, falling snow look.
- Layer snowflakes with some lighter and some darker.
27. “Noel” with Vintage Style
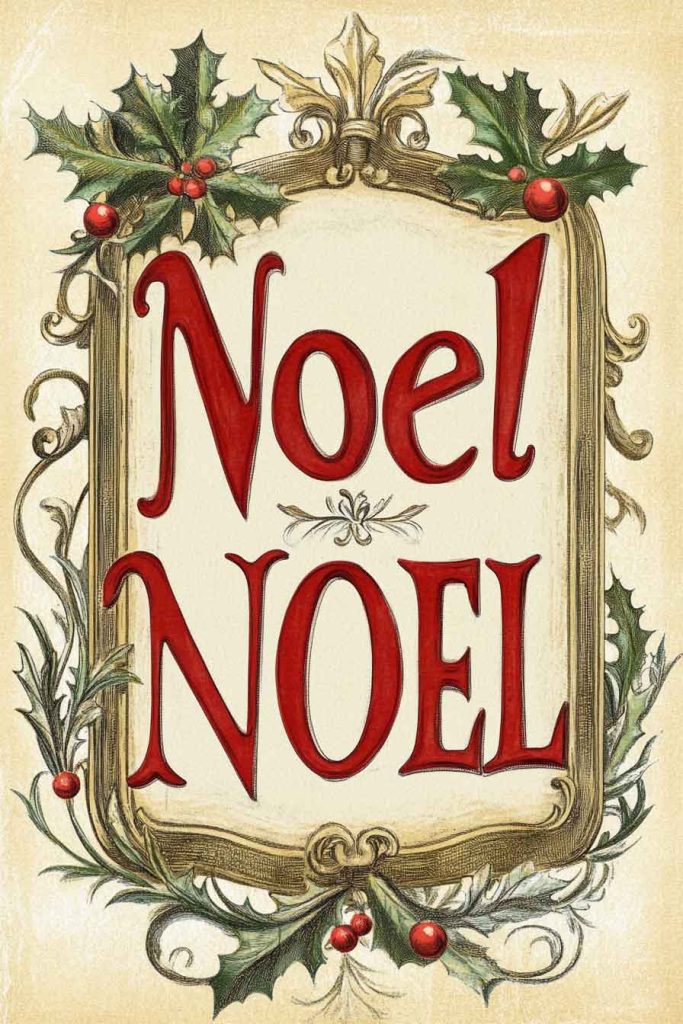
Write “NOEL” in vintage-style letters that look old-fashioned and traditional. Add flourishes and decorative swirls around the letters.
Simple vintage ornament drawings or classic holly sprigs surround the word. The overall style looks like an old Christmas card or vintage decoration.
This design appeals to people who love traditional, classic Christmas style. It creates an elegant, timeless look that never goes out of fashion.
Tips:
- Use serif letters (with small lines at the ends) for vintage style.
- Add swirls and flourishes but don’t make it too busy.
- Choose colors like deep red, forest green, and antique gold.
- Draw ornaments as simple circles with decorative tops.
28. Christmas Tree Farm Scene
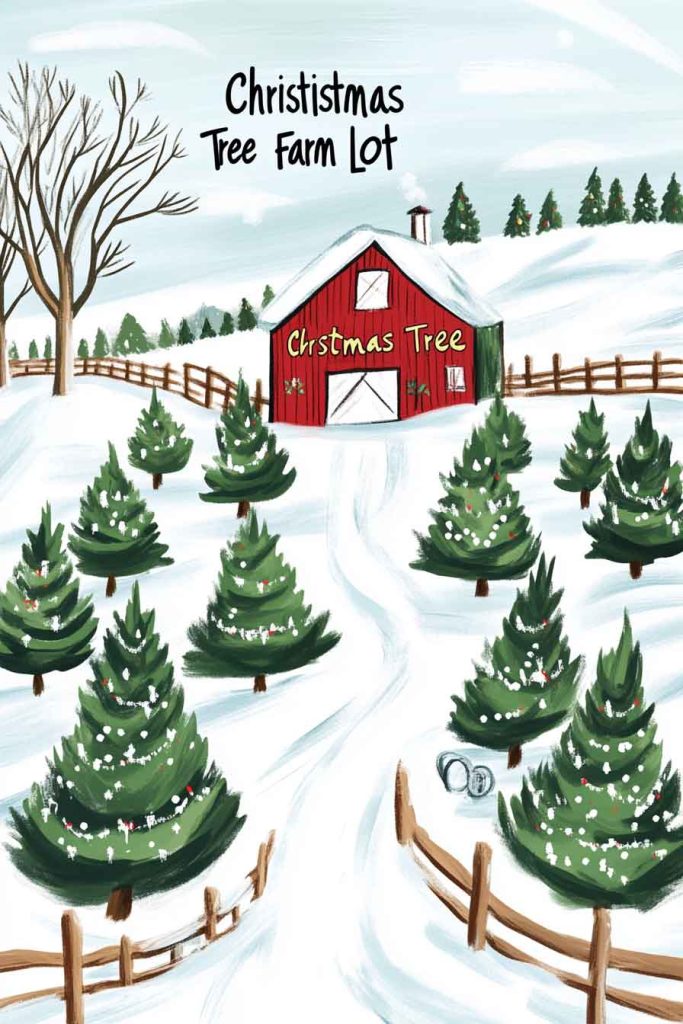
Create a scene showing rows of Christmas trees with a simple barn or farmhouse in the background. Snow-covered ground and gentle hills complete the countryside picture.
Add “Christmas Tree Farm” or “Tree Lot” as lettering somewhere on the board. The rural scene creates a nostalgic, traditional Christmas feeling.
This design celebrates the tradition of picking out the perfect tree. It reminds people of fun family outings to find their Christmas tree.
Tips:
- Draw trees as simple triangles in different sizes.
- Make trees smaller as they go toward the background.
- Add a simple barn with basic shapes—rectangles and triangles.
- Include a fence or path to lead the eye through the scene.
29. “Merry and Bright” with Lights
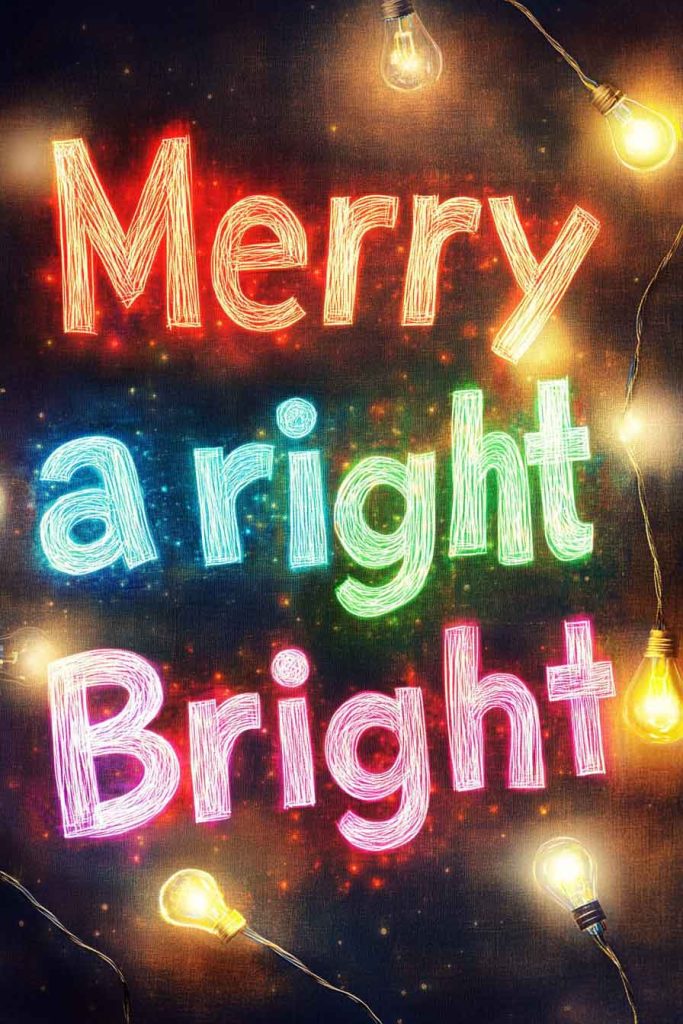
Write “Merry and Bright” with small light bulbs drawn around and between the letters. The words are cheerful and the light decorations add sparkle.
Each drawn light can be a different color with small rays showing they’re glowing. The design celebrates the beautiful lights that make Christmas special.
This design is colorful and happy, perfect for people who love the bright, cheerful side of Christmas. It brings energy and excitement to any space.
Tips:
- Make letters large but leave room for light decorations.
- Draw light bulbs in rainbow colors for maximum brightness.
- Add rays or glow effects around each bulb.
- Keep the background dark so lights appear to glow.
30. Christmas Blessing Message
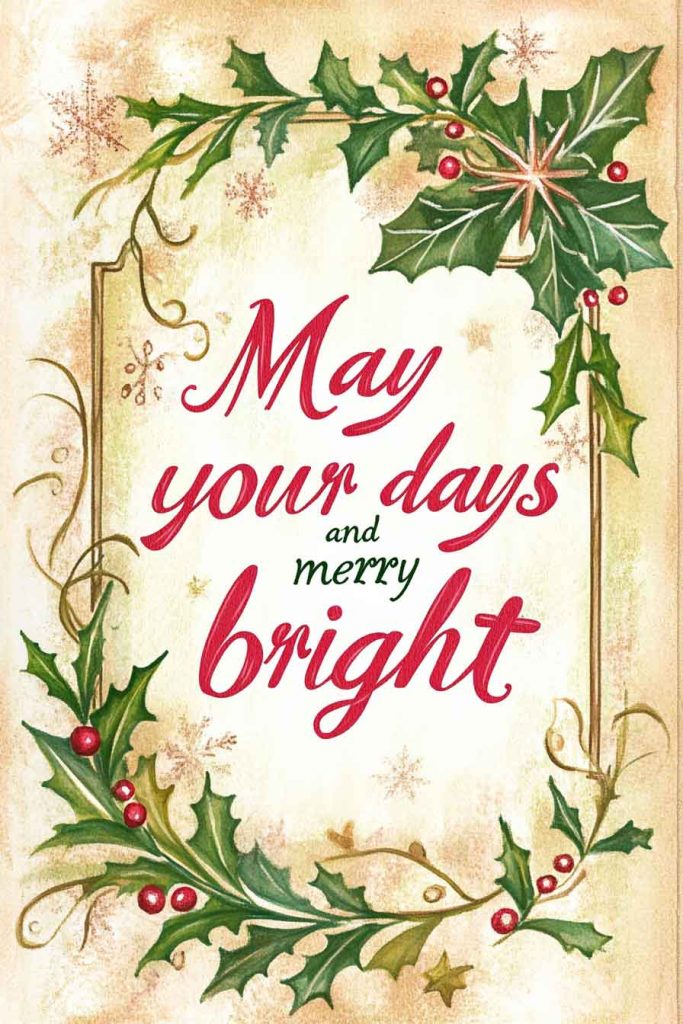
Write a meaningful Christmas blessing or prayer on your board in beautiful lettering. Something like “May your days be merry and bright” or a favorite verse.
Frame the words with simple, elegant decorations—perhaps just a border of small stars or a simple vine of holly. The focus stays on the meaningful words.
This design shares the deeper meaning of Christmas. It creates a thoughtful, spiritual decoration that reminds everyone of blessings and gratitude during the holiday season.
Tips:
- Choose words that are meaningful to your family.
- Use elegant, readable lettering—nothing too fancy that’s hard to read.
- Keep decorations simple so they don’t distract from the message.
- Use soft, peaceful colors that create a calm feeling.
Conclusion
Creating Christmas chalkboard art is a wonderful way to make your home feel special and festive. Each design idea in this article gives you different ways to show your creativity and celebrate the season.
Whether you like simple messages, detailed drawings, traditional designs, or playful scenes, these ideas help you create decorations that are uniquely yours. The best part is you can erase and start over whenever you want to try something new.
Don’t worry if you’re not an artist—these designs work for everyone. Start simple, have fun, and let your chalkboard become a special part of your family’s Christmas traditions this year!