How to Connect Nest Camera to Wifi? To connect a Nest camera to wifi, open the Nest app, select the camera, tap on the settings icon, and choose the option to update the wifi network. You can also factory reset the camera and reinstall it through the Google Home platform for a fresh connection.
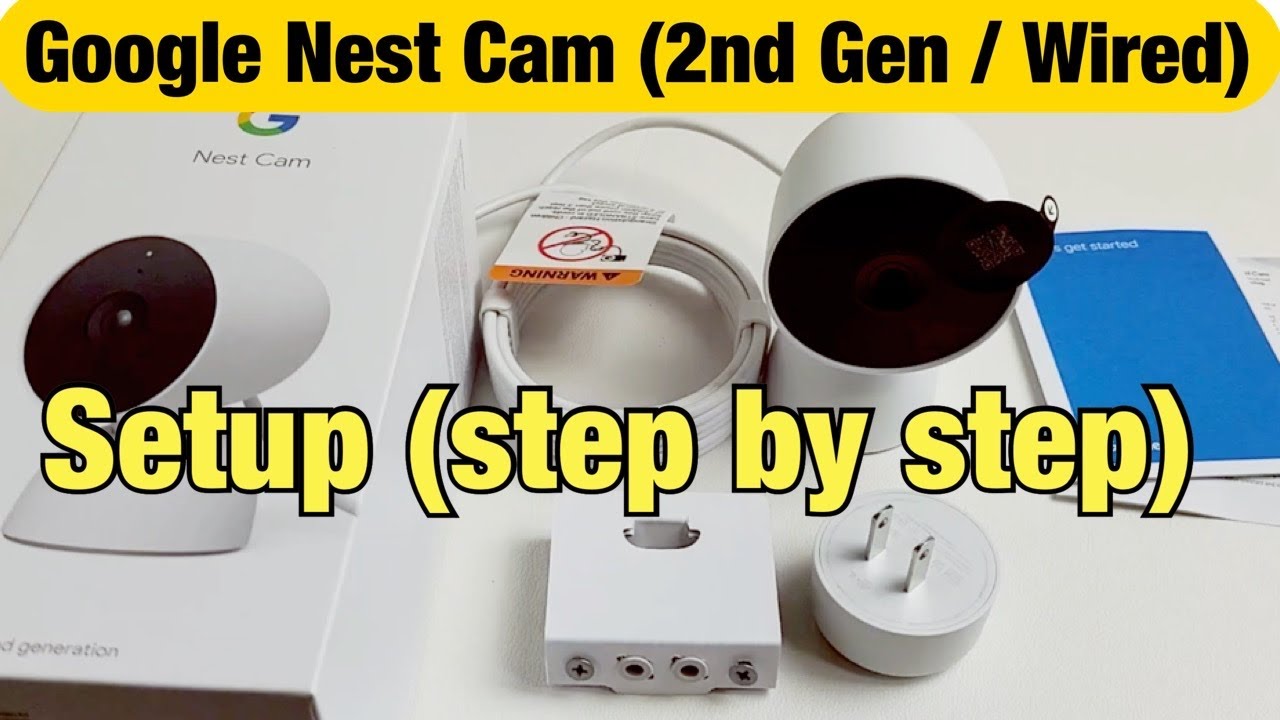
Connecting Nest Camera To Wifi
Learn how to connect your Nest camera to WiFi easily with these step-by-step guides. From setting up the camera to changing the WiFi network, you’ll find all the instructions you need to get your Nest camera connected and running smoothly.
Say goodbye to complicated processes and hello to a seamless connection with your Nest camera.
To connect your Nest Camera to Wifi, follow these steps:
1. Ensure the camera is powered on.
2. Open the Nest app on your smartphone.
3. Tap on the camera that you want to connect to Wifi.
4. Tap on the settings icon (gear icon).
5. Select “Wifi Settings”.
6. Follow the on-screen prompts to connect the camera to Wifi.
If you want to check the Wifi signal strength, you can refer to the app as it usually displays the signal strength for the camera. Make sure that the camera is within range of your Wifi router for a stable connection.
In case you encounter any issues with the connection, you can refer to Google’s Help Center or watch tutorial videos on platforms like YouTube for step-by-step guides on connecting your Nest Camera to Wifi.
Remember, a stable Wifi connection is crucial for the smooth functioning of your Nest Camera, so ensure that you have a reliable and strong Wifi signal in the area where the camera is installed.
See Also: Feit Electric Light Offline: Troubleshooting Tips and Solutions
Changing Wifi Connection On Nest Camera
To change the wifi connection on your Nest Camera, follow these steps:
1. Open the Nest app on your smartphone.
2. Tap on the camera that you want to change the wifi connection for.
3. Tap on the settings icon (gear icon).
4. Select “Wifi Settings”.
5. Choose the new wifi network and enter the password.
6. Wait for the camera to connect to the new wifi network.
Remember that it’s important to have a stable and reliable wifi connection for your Nest Camera to function properly.
By following these steps, you can ensure a seamless transition to a new wifi network without any interruptions in your camera’s performance.
If you are still facing any issues, you can refer to the official Nest support documentation or contact their customer support for further assistance.
Troubleshooting Nest Camera Wifi Issues
Connect your Nest camera to WiFi easily by following these simple steps. Open the Nest app, select the camera you want to update, tap on the settings icon, and then choose the option to update the WiFi network. It’s quick and hassle-free!
Check Wifi Signal Strength
If you’re experiencing issues connecting your Nest Camera to Wifi, the first thing to check is the wifi signal strength. Ensure that the camera is located within range of a strong and stable wifi network signal.
If the signal is weak, consider moving the camera closer to the router or using a wifi extender to enhance the signal strength.
Restart The Camera And Router
If you’re still experiencing connectivity issues, try restarting both the camera and the router. Power off the camera, unplug it from the power source, and wait for a few seconds before plugging it back in.
Additionally, restart your router by unplugging it, waiting for a few seconds, and plugging it back in. This simple reset can often resolve temporary connectivity problems.
Ensure You Are Using The Correct Wifi Network And Password
Double-check that you are connecting the camera to the correct wifi network and entering the correct password.
Sometimes, devices can inadvertently connect to nearby networks or use outdated passwords. Verify the network name and password to ensure a successful connection.
Reset The Camera And Set It Up Again
If all else fails, you may need to reset the camera and set it up again from scratch.
Follow the manufacturer’s instructions for resetting the camera and then go through the initial setup process, including connecting it to your wifi network. This can often resolve persistent connectivity issues.
Contact Nest Support For Further Assistance
If you’ve tried all the troubleshooting steps and are still unable to connect your Nest Camera to Wifi, it’s recommended to reach out to Nest support for further assistance.
They will be able to provide specialized guidance and help resolve any technical issues you may be experiencing.
Credit: reolink.com
Frequently Asked Questions For How To Connect Nest Camera To Wifi
How Do I Reconnect My Nest Camera To Wi-fi?
To reconnect your Nest camera to Wi-Fi, follow these steps: Press the thermostat ring and select Network.
Choose the new Wi-Fi network name and enter the password. Give it a few moments to connect. For more troubleshooting, visit the Google Help page or watch YouTube tutorials.
How Do I Connect My Nest To Wi-fi?
To connect your Nest to Wi-Fi, follow these steps:
1. Press the thermostat ring and select “Network” from the Quick View menu. 2. Choose the new Wi-Fi network name and enter the password.
3. Wait for the network to appear.
4. If you face any issues, troubleshoot offline cameras or restart/factory reset the Nest camera.
Remember to update the Wi-Fi network in the Nest app for a smooth connection.
How Do I Get My Nest Camera Back Online?
To get your Nest camera back online, follow these steps:
1. Open the Nest app on your mobile device.
2. Select the camera you want to update the WiFi network for.
3. Tap on the settings icon (gear icon) located in the top-right corner.
4. Choose the option to update WiFi or change WiFi network.
5. Follow the on-screen instructions to reconnect your camera to a new WiFi network.
How Do I Reset My Nest Wi-fi Camera?
To reset your Nest Wi-Fi camera, follow these steps:
1. Open the Nest app on your mobile device.
2. Select the camera you want to reset.
3. Tap on the settings icon in the top-right corner.
4. Look for the option to restart or factory reset the camera.
5. Follow the on-screen instructions to complete the reset process.
Conclusion
Connecting your Nest Camera to WiFi is a simple process that can be done through the Nest app on your smartphone.
By following the steps provided, you can ensure a smooth and successful setup.
Remember to select the appropriate WiFi network and enter the correct password to establish a reliable connection.
Enjoy the benefits of monitoring your home with ease and convenience through your Nest Camera.