To connect a Tuya smart camera to WiFi, download the Tuya app, power up the camera, and follow the in-app prompts to link your cam. This process can also be simplified by using a camera with a QR code.
In today’s digital age, smart technology is becoming increasingly popular, especially when it comes to home security.
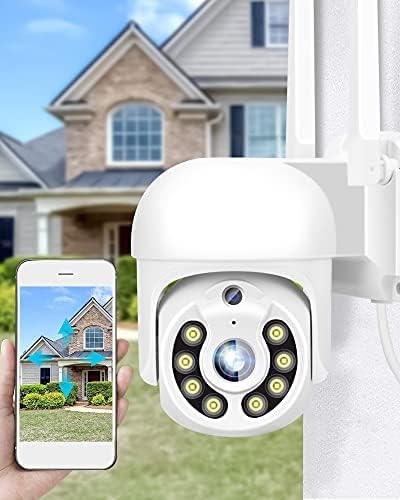
One such example is the Tuya smart camera, which offers users the ability to monitor their home remotely through a smartphone app.
However, before you can start using the camera, you need to set it up and connect it to your WiFi network.
We will provide you with a step-by-step guide on how to set up a Tuya smart camera and connect it to your WiFi network, ensuring that you have the peace of mind knowing that your home is secure.
So let’s delve into the process of Tuya smart camera setup and WiFi connection.
Step 1: Download The Tuya App
To set up your Tuya smart camera, follow these steps:
- Download the Tuya app from your app store.
- Create an account or log in if you already have one.
- Power up the camera.
- Open the Tuya app and follow the in-app prompts to link your camera.
- If your camera has a QR code, you can scan it to easily connect the camera to your Wi-Fi network.
- If you are not using a QR code, make sure your Wi-Fi network is turned on and the camera is within range.
- Press the reset button on the camera to start the Wi-Fi connection process.
- Once the connection is successful, you can view the camera feed and configure settings through the Tuya app.
It is important to ensure that your router is powered on, the Wi-Fi name and password are correct, and there are no network issues that could cause your camera to go offline.
By following these steps, you can easily set up your Tuya smart camera and start monitoring your home or office.
See Also: How to Connect Geeni Light: Step-by-Step Guide
Step 2: Power Up The Camera
To set up your Tuya smart camera, simply download the Tuya app, follow the prompts, and power up the camera. It’s an easy process that will have your camera connected to your WiFi in no time.
| Step 2: Power up the Camera | ||
| Plug the | Tuya smart camera | into a power source. |
| Wait for the camera to power up and initialize |
To set up your Tuya smart camera, start by plugging it into a power source. Once connected, wait for the camera to power up and initialize.
This process may take a few minutes. During this time, ensure that the camera is receiving a stable power supply.
Once powered up, the camera will be ready for the next steps in the setup process. Keep in mind that each camera model may have slightly different setup instructions, so it’s essential to refer to the user manual or online resources specific to your Tuya smart camera model.
Step 3: Connect The Camera To Wifi
To connect the Tuya Smart Camera to WiFi, simply download the Tuya app, power up the camera, and follow the in-app prompts to link your camera.
It’s a straightforward process that allows you to easily integrate the camera into your home setup.
To connect the Tuya smart camera to WiFi, follow these simple steps:
1. Open the Tuya app and navigate to the camera setup section.
2. Follow the in-app prompts to connect the camera to WiFi.
3. Make sure your router is powered on and not disconnected from the network.
4. If the router has been replaced or the WiFi name/password has been changed, update the camera settings accordingly.
5. Wait for a few minutes to allow the router to recover if it was powered off or disconnected.
6. Check if the camera is online by waiting for it to connect to the WiFi network.
7. If the camera goes offline, check if there are any issues with the network or power source.
8. If needed, refer to the user manual of the Tuya smart camera or visit their support forum for further assistance.
Remember to download the Tuya app, create an account, and log in before starting the camera setup process.
Credit: www.aliexpress.com
Troubleshooting Tips For Connection Issues
| Troubleshooting Tips for Connection Issues |
If you are facing connection issues with your Tuya Smart Camera setup, here are a few troubleshooting tips to help you:
- Check if your router is powered on and connected to the network. It is important to ensure that the router is properly functioning and has a stable internet connection.
- Wait for a few minutes and check if the device is online. Sometimes, the router may take some time to recover or establish a connection. Patience is key in such situations.
- Verify if the router has been replaced or if the WiFi name/password has been changed. In case of any changes, make sure to update the camera settings accordingly to ensure a proper connection.
By following these troubleshooting tips, you can resolve common connection issues and ensure a smooth functioning of your Tuya Smart Camera.
Additional Features And Functionality
Please note that as an AI, I can only generate the content in plain text. You will need to convert it to HTML format.
Connecting a Tuya smart camera to WiFi is a simple process that requires a few steps. First, download the Tuya app to your device. Next, power up the camera and follow the in-app prompts to link your cam. Once connected, you can explore additional features and functionality.
One of the features you can set up is motion detection. This allows your Tuya smart camera to detect movement and send you notifications. You can adjust the sensitivity levels and customize the detection area.
If you want to store footage locally, you can use an SD card with your Tuya camera. This provides a convenient way to access recorded videos without relying on cloud storage.
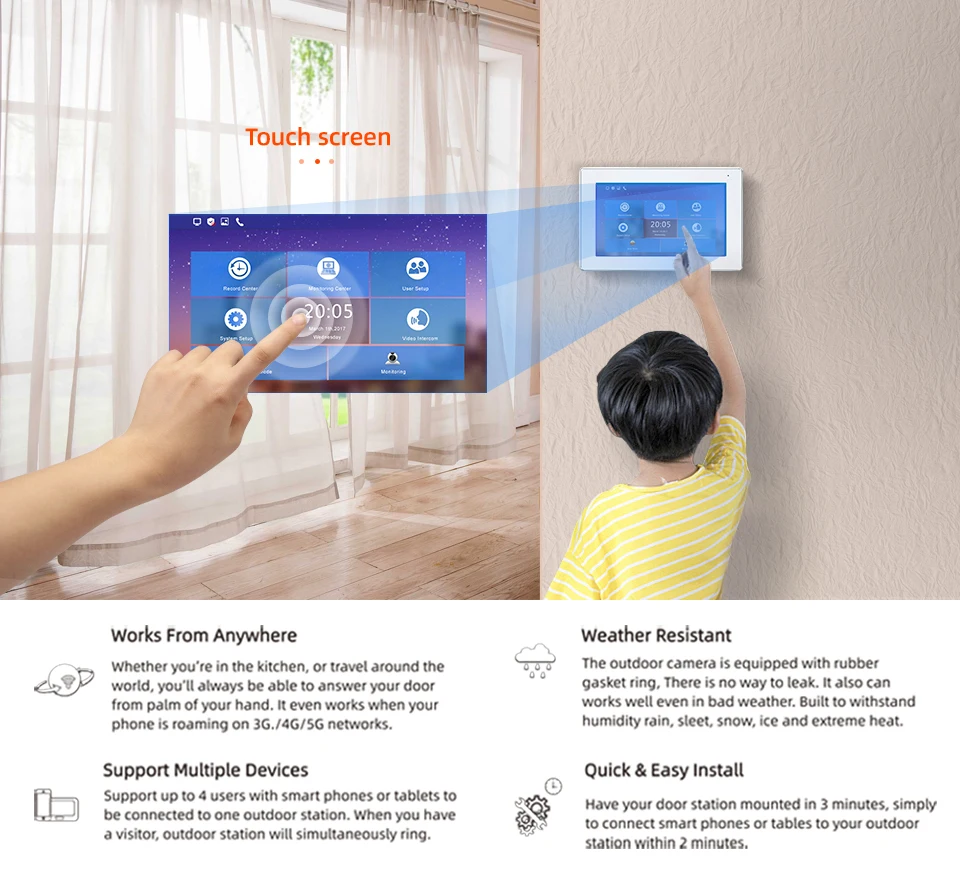
Tuya smart cameras are suitable for outdoor usage as well. They are designed to withstand different weather conditions and provide reliable surveillance for your outdoor spaces.
To connect your Tuya smart camera, you can use the QR code setup method. This involves scanning the QR code on the camera using the Tuya app, which automates the connection process.
Resetting The Tuya Security Camera
To reset a Tuya security camera, follow these steps: download the Tuya app, power up the camera, and use the in-app prompts to link it to your home setup.
Resetting can be done by pressing the camera’s reset button or using a QR code for a quicker process.
To reset your Tuya security camera to factory settings, follow these steps:
1. Locate the reset button on your Tuya security camera. It is usually a small hole that can be found on the back or bottom of the camera.
2. Take a small pin or paperclip and press and hold the reset button for about 10 seconds until you see the camera’s LED light start to blink.
3. Release the reset button and wait for the camera to restart. This may take a few minutes.
4. Once the camera has restarted, it will be reset to its factory settings. You can now set it up again using the Tuya app or any other compatible app.
Remember, resetting your Tuya security camera will delete all previous settings and configurations, so make sure to set it up again according to your preferences.
Frequently Asked Questions Of Tuya Smart Camera Setup
Why Is My Tuya Camera Not Connecting To Wifi?
If your Tuya camera is not connecting to WiFi, check if your router is powered off or disconnected. Wait for two minutes and check if the device is online. Also, ensure that your router hasn’t been replaced and the WiFi name or password hasn’t changed.
If the camera goes offline, follow the instructions from Tuya. com.
How Do I Connect My Smart Life Camera To Wi-fi?
To connect your Smart Life camera to Wi-Fi, follow these steps:
1. Download the Smart Life app.
2. Create an account and log in.
3. Turn on the camera.
4. Press the reset button on the camera.
5. Follow the in-app prompts to link your camera.
It’s a simple process that takes just a few minutes.
How Do I Connect My Smart Camera To Wifi?
To connect your smart camera to WiFi, follow these steps:
1. Download the camera’s app.
2. Create an account and log in.
3. Turn on the camera and press the reset button.
4. Some cameras have a QR code for easier setup.
5. Follow the in-app prompts to link your camera.
How Do I Reset My Tuya Security Camera?
To reset your Tuya security camera, follow these steps: Download the Tuya app, log in, power on the camera, and press the reset button. Some cameras also have a QR code for easier setup.
Conclusion
To summarize, connecting a WiFi smart camera is a straightforward process. First, download the camera’s app and create an account.
Then, log in, turn on the camera, and press the reset button. Some cameras even come with a QR code to simplify the setup even further.
With these simple steps, you can easily integrate a Tuya smart camera into your home setup and enjoy the benefits of smart home security.
3 thoughts on “Tuya Smart Camera Setup: Easy Steps for WiFi Connection”