Setting up your Wyze Camera is a simple process. In the Wyze app, tap on the + sign and choose “Add Device.”
From there, select “Cameras” and follow the on-screen instructions to connect and set up your Wyze Camera. Setting up a Wyze Camera is a quick and easy process that allows you to monitor your home or space with ease.
Whether you have the Wyze Cam or Wyze Cam Pan, the setup process is straightforward.
We will guide you through the steps to successfully set up your Wyze Camera, ensuring seamless integration with your smartphone and network.
With the Wyze app at your fingertips, you can access live footage and enjoy the added security and peace of mind that comes with smart home surveillance.
Whether you’re a tech-savvy individual or a novice, the Wyze Camera setup is designed to be user-friendly and accessible to all.
Setting Up Your Wyze Cam Or Wyze Cam Pan
To set up your Wyze Cam or Wyze Cam Pan, follow these easy steps:
Step 1: Tap The + Plus Sign On The Top Left
In the Wyze app, navigate to the Home tab and tap on the + plus sign located in the top left corner. This will initiate the setup process for adding a new device.
Step 2: Tap Add Device
Once you’ve tapped the + plus sign, a menu will appear. Select “Add Device” from the menu options to proceed.
Step 3: Tap Cameras
After tapping “Add Device,” a list of available device types will be displayed. Choose “Cameras” from the list to continue with the setup.
Step 4: Choose Wyze Cam Or Wyze Cam Pan
Within the Cameras category, you will see options for Wyze Cam and Wyze Cam Pan. Select the appropriate device that you are setting up.
Once you have completed these steps, you will be guided through the specific setup process for your chosen Wyze camera model. Follow the on-screen instructions to connect the camera to your Wi-Fi network, configure settings, and start using your Wyze Cam or Wyze Cam Pan.
Wyze Cam Og: Unboxing, Set-up, And Test
Easily set up your Wyze Cam OG with our step-by-step guide. From unboxing to testing, we provide detailed instructions for a hassle-free Wyze Camera setup.
Wyze Camera Setup
Wyze Cam OG: Unboxing, Set-up, and Test
Follow the video tutorial on YouTube for Wyze Cam OG setup. Learn how to install your Wyze Cam security camera in your home and troubleshoot if your Wyze camera is not connecting.
- To set up your Wyze Cam OG:
- In the Wyze app, tap Home, then tap the + plus sign on the top left.
- Tap Add Device.
- Tap Cameras > Wyze Cam OG.
- For troubleshooting and fixing the Wyze camera connectivity issue, check the following:
- Why is my Wyze camera not connecting?
- How do I get my Wyze camera back online?
- Can’t connect to the Live Stream – Wyze Support
- Wyze camera reset
- To connect your Wyze camera to Wi-Fi:
- Wyze Camera Setup — Easy Step-By-Step Guide – Wasserstein Home
- How do I set up my Wyze cam for motion detection?
- Detection Settings and Zones – Wyze Support
Remember to refer to the Wyze Cam OG setup guide on YouTube and the Wyze Support website for detailed instructions and troubleshooting tips.
Connect Wyze Camera To Wi-fi
To connect your Wyze Camera to Wi-Fi, simply open the Wyze app and tap on the “+” icon to add the device. Then, follow the step-by-step guide to complete the setup process. Easily monitor your space with Wyze Camera’s easy setup and reliable Wi-Fi connection.
Wyze Camera Setup
Make Sure Your Wi-fi Is Working Properly
Follow these easy steps to connect your Wyze camera to Wi-Fi:
1. Open the Wyze app and tap on “Home”.
2. Tap on the “+” plus sign on the top left corner to add a new device.
3. Select “Add Device” and then choose “Cameras”.
4. From the list of camera options, select your Wyze camera model.
5. Follow the on-screen instructions to complete the setup process.
If your Wyze camera is not connecting or is offline, try the following:
1. Make sure your Wi-Fi network is working properly.
2. Ensure that your camera is in range of the Wi-Fi signal.
3. Restart your Wyze camera and your Wi-Fi router.
4. Double-check if you entered the correct Wi-Fi credentials during setup.
5. Try connecting your camera to a different Wi-Fi network to troubleshoot.
Credit: www.wyze.com
Wyze Camera Motion Detection Setup
To set up your Wyze Cam for motion detection using the Wyze app, follow these steps:
- Open the Wyze app and tap on the “Home” tab.
- Tap on the “+” icon on the top left to add a new device.
- Select “Add Device” and then choose “Cameras.”
- Choose your specific Wyze camera model (OG or Outdoor) from the list.
- Follow the on-screen instructions to connect your Wyze camera to Wi-Fi.
- Once connected, go to “Detection Settings” in the app.
- Adjust the motion detection sensitivity according to your preference.
- Create detection zones by selecting specific areas where you want the camera to detect motion.
- Save your settings and your Wyze camera is now set up for motion detection.
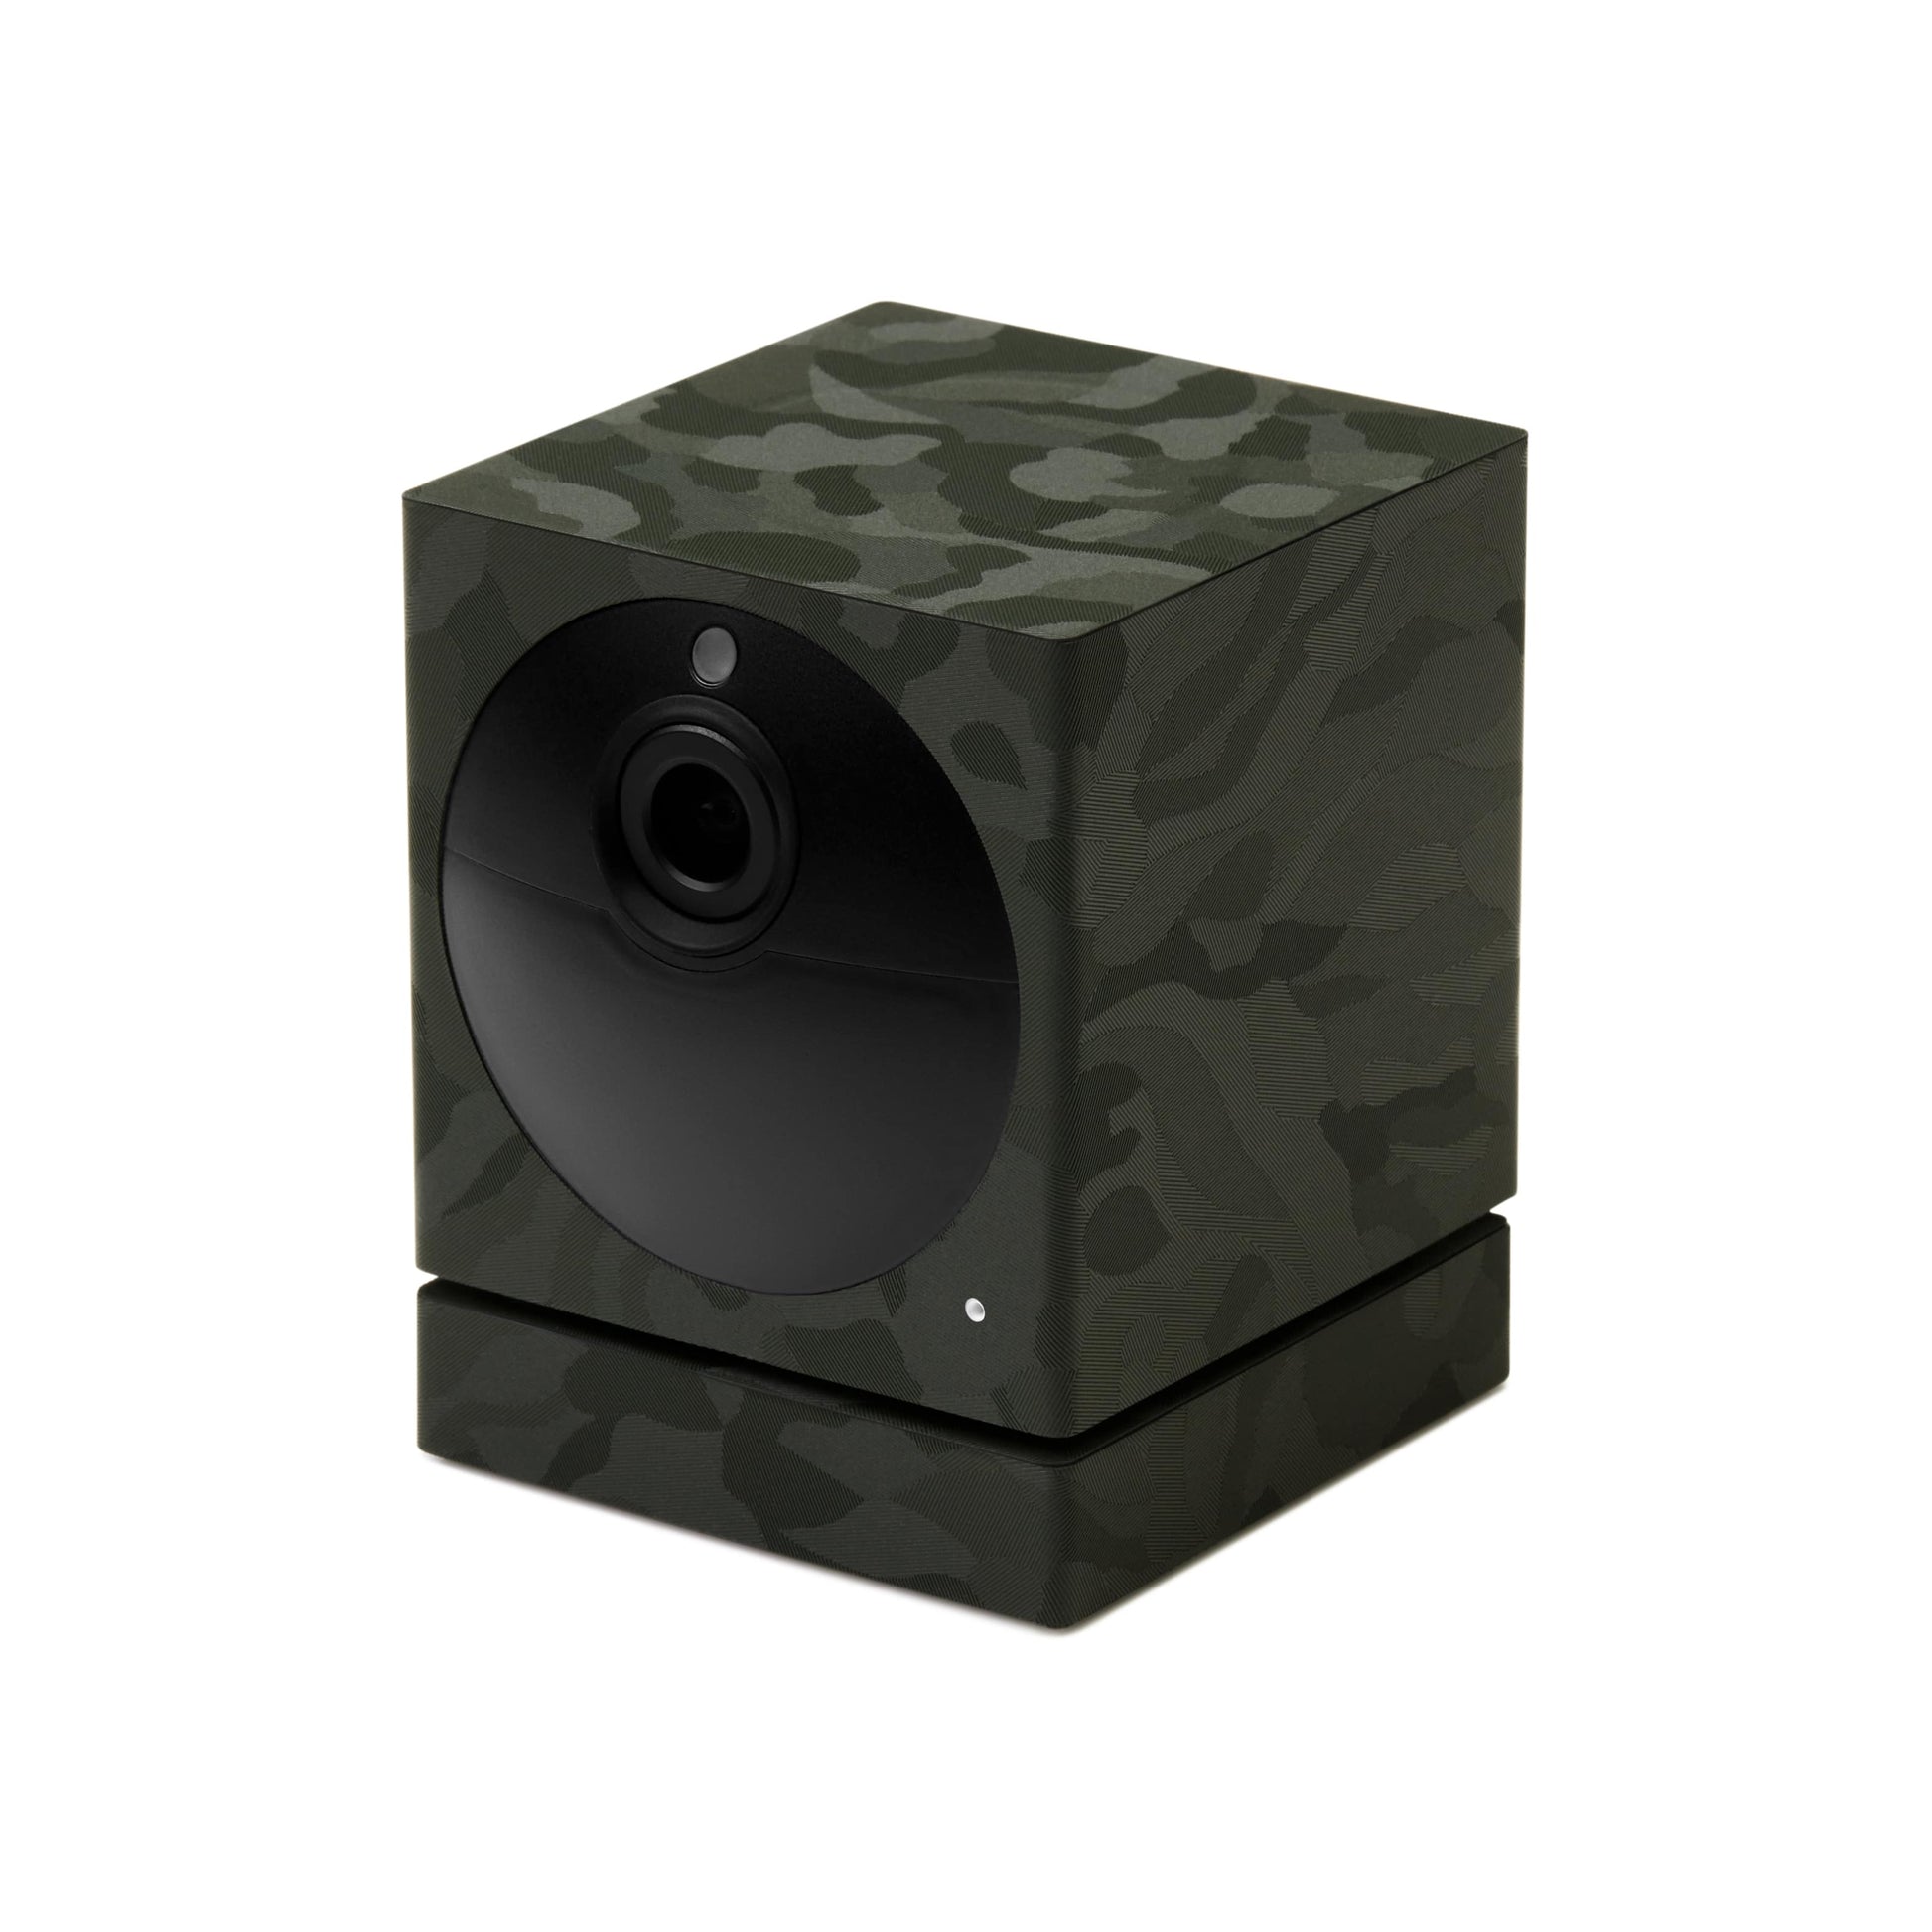
Wyze Outdoor Camera Setup
Setting up your Wyze Outdoor Camera is a straightforward process that can be done in a few steps. To begin, make sure you have the Wyze app downloaded on your smartphone or tablet. Open the app and tap on the “Home” tab, then select the “+” sign in the top left corner to add a new device.
From the menu, choose “Add Device” and then “Cameras”. Here, you will find the option for the Wyze Outdoor Camera. Follow the instructions provided by the app to connect your camera to your Wi-Fi network.
If you encounter any issues with your Wyze Outdoor Camera not connecting to Wi-Fi, there are a few troubleshooting steps you can try. First, ensure that the camera is within range of your Wi-Fi signal. You can also try restarting both your router and the camera itself.
Additionally, make sure that you are using the correct Wi-Fi credentials and that your network is operating properly. If none of these steps solve the issue, referring to the Wyze support website or contacting their customer support team for further assistance is recommended.
Wyze App Setup
Setting up your Wyze Camera is a breeze with the Wyze App. Just tap the + sign in the app, select Add Device, and follow the step-by-step guide to get your camera connected to your home’s Wi-Fi network. Easily monitor your home with this user-friendly setup.
Wyze Camera Setup
Wyze App Setup
Download and install the Wyze app:
To begin setting up your Wyze camera, the first step is to download and install the Wyze app on your smartphone or tablet. You can find the Wyze app on both the App Store for iOS devices and the Google Play Store for Android devices. Simply search for “Wyze” in the respective app store and click on the download/install button.
Navigate the Wyze app for your camera setup:
Once you have successfully installed the Wyze app, open the app and create a new account or log in to your existing account. Upon logging in, you will be greeted with the home screen of the Wyze app.
From here, tap on the “+” plus sign on the top left corner to add a new device. Then, tap on “Add Device” and select “Cameras”. Choose the specific Wyze camera model (e.g., Wyze Cam OG or Wyze Cam Pan) and follow the on-screen instructions to complete the setup process.
Set up notifications and camera settings in the Wyze app:
After successfully adding your Wyze camera to the app, you can customize various settings to enhance your experience.
In the Wyze app, navigate to the settings menu for your camera and explore options such as notifications, motion detection, detection settings, and zones.
Adjust these settings according to your preferences to ensure that you receive alerts and notifications for any activity detected by your Wyze camera.
By following these simple steps, you can easily set up your Wyze camera using the Wyze app and customize the camera settings to suit your needs and preferences.
Frequently Asked Questions Of Wyze Camera Setup
How Do I Connect My Wyze Camera To Wi-fi?
To connect your Wyze camera to Wi-Fi, follow these steps:
1. Open the Wyze app and tap on “Home. ”
2. Tap on the “+” sign in the top left corner.
3. Select “Add Device” and then choose “Cameras. ”
4. Choose the specific Wyze camera model.
5. Follow the on-screen instructions to connect your camera to Wi-Fi.
How Do I Get My Wyze Camera Back Online?
To get your Wyze camera back online, follow these steps:
1. Open the Wyze app and tap on the Home tab.
2. Tap on the + sign at the top left corner to add a device.
3. Select “Add Device” and then choose “Cameras.
” 4. From the list, select your Wyze camera model.
5. Follow the on-screen instructions to complete the setup and connect your camera to Wi-Fi.
Why Is My Wyze Camera Not Connecting?
If your Wyze camera is not connecting, try these steps:
1. Open the Wyze app and tap the “+” sign on the top left.
2. Tap “Add Device” and select “Cameras. ”
3. Choose your Wyze camera model.
4. Follow the setup instructions in the app.
5. If the issue persists, try resetting the camera and reconnecting it to Wi-Fi.
For detailed instructions, refer to the Wyze Camera Setup Guide or contact Wyze Support.
How Do I Set Up My Wyze Cam For Motion Detection?
To set up your Wyze cam for motion detection:
1. Open the Wyze app and tap on the “+” sign at the top left.
2. Select “Add Device” and then “Cameras. ”
3. Follow the on-screen instructions to connect your Wyze cam to your Wi-Fi network.
4. Once connected, go to the camera settings and enable motion detection.
5. Customize the motion detection settings and set up motion detection zones if desired.
Conclusion
Setting up your Wyze camera is a breeze with our easy step-by-step guide. Simply open the Wyze app, tap on Home, and then the + sign. Select Add Device, and choose Cameras. Follow the on-screen instructions, and in no time, your Wyze camera will be up and running.
Enjoy peace of mind with simple and efficient Wyze camera setup.